Slides
The Slide Management feature in the serB2B E-Commerce System allows you to easily create and manage slides for your web and mobile applications. With this feature, you can create new slide lists, add images to your slides, edit or delete existing slides. By managing your slides quickly and efficiently, you can optimize the user experience.
Before You Start
How to Create Slide Images
Decide on the slides to be displayed in your serB2B and serMobile PRO mobile applications, create the necessary images, and save each image separately on your computer.
Prepare your designs by reviewing the usage models offered by the serB2B serMobile PRO Widget components. Create separate image files and save them on your computer in .png, .jpg, .jpeg, or .webp formats.
For video content, the file format must be .mp4.
For the highest quality content display, set the image width to 1000 px.
To ensure optimal application speed, keep the size of your image files (.png, .jpg, .jpeg) under 1 MB for a better user experience.
For videos, keeping file sizes under 2 MB ensures better application performance.
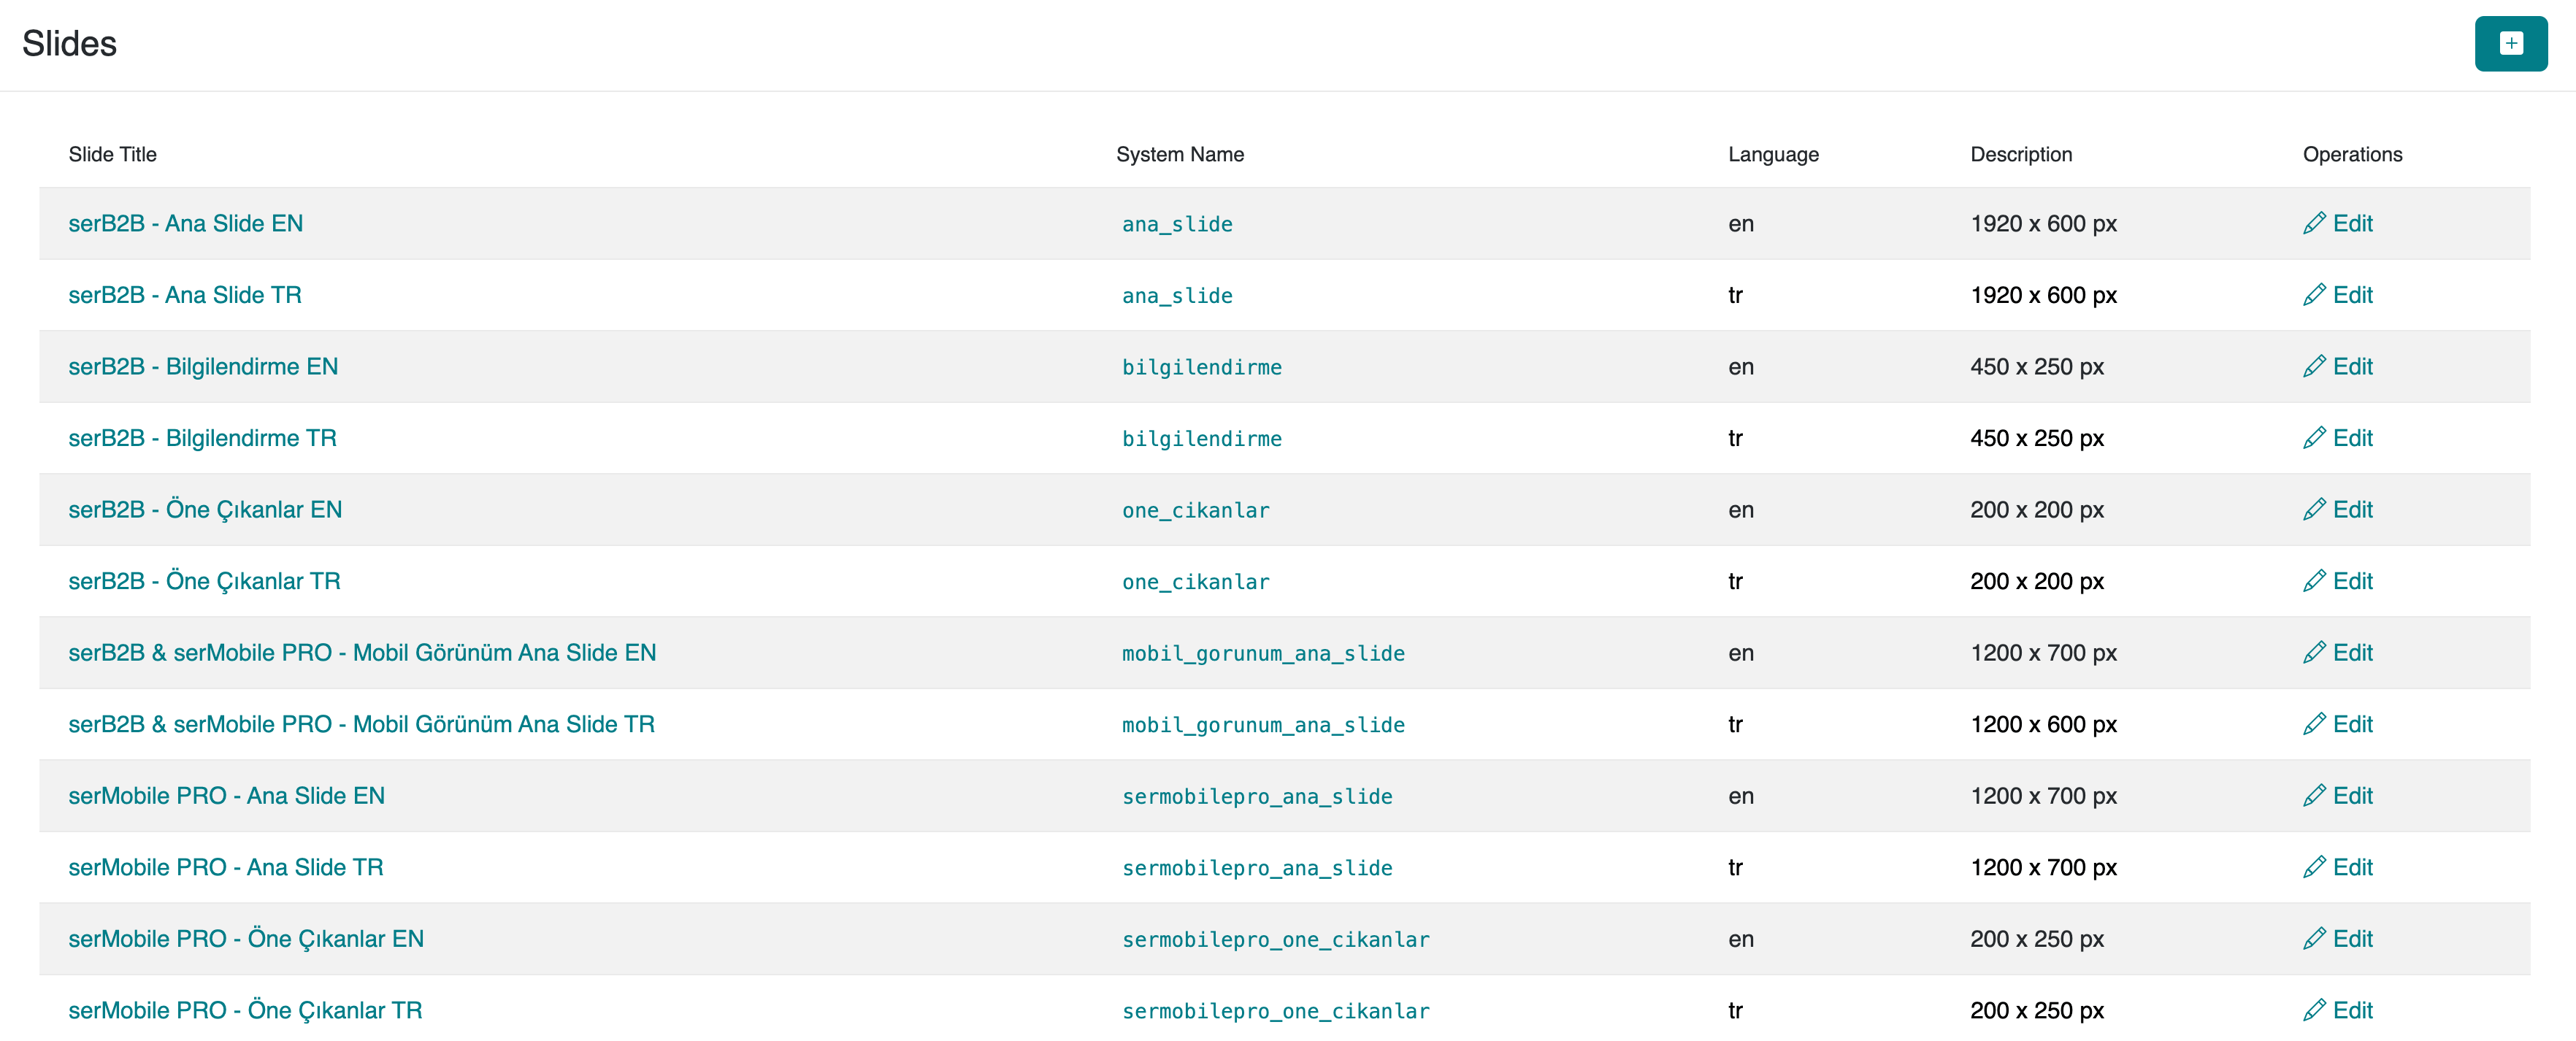
Viewing Slides
Navigate to the Design > Slides section in the admin panel of your serB2B system to view the slides defined in your system.
Adding a New Slide
To add a new slide to your serB2B system, go to the Design > Slides section in the admin panel and click the + icon in the top right corner.

i. Adding a New Slide Title
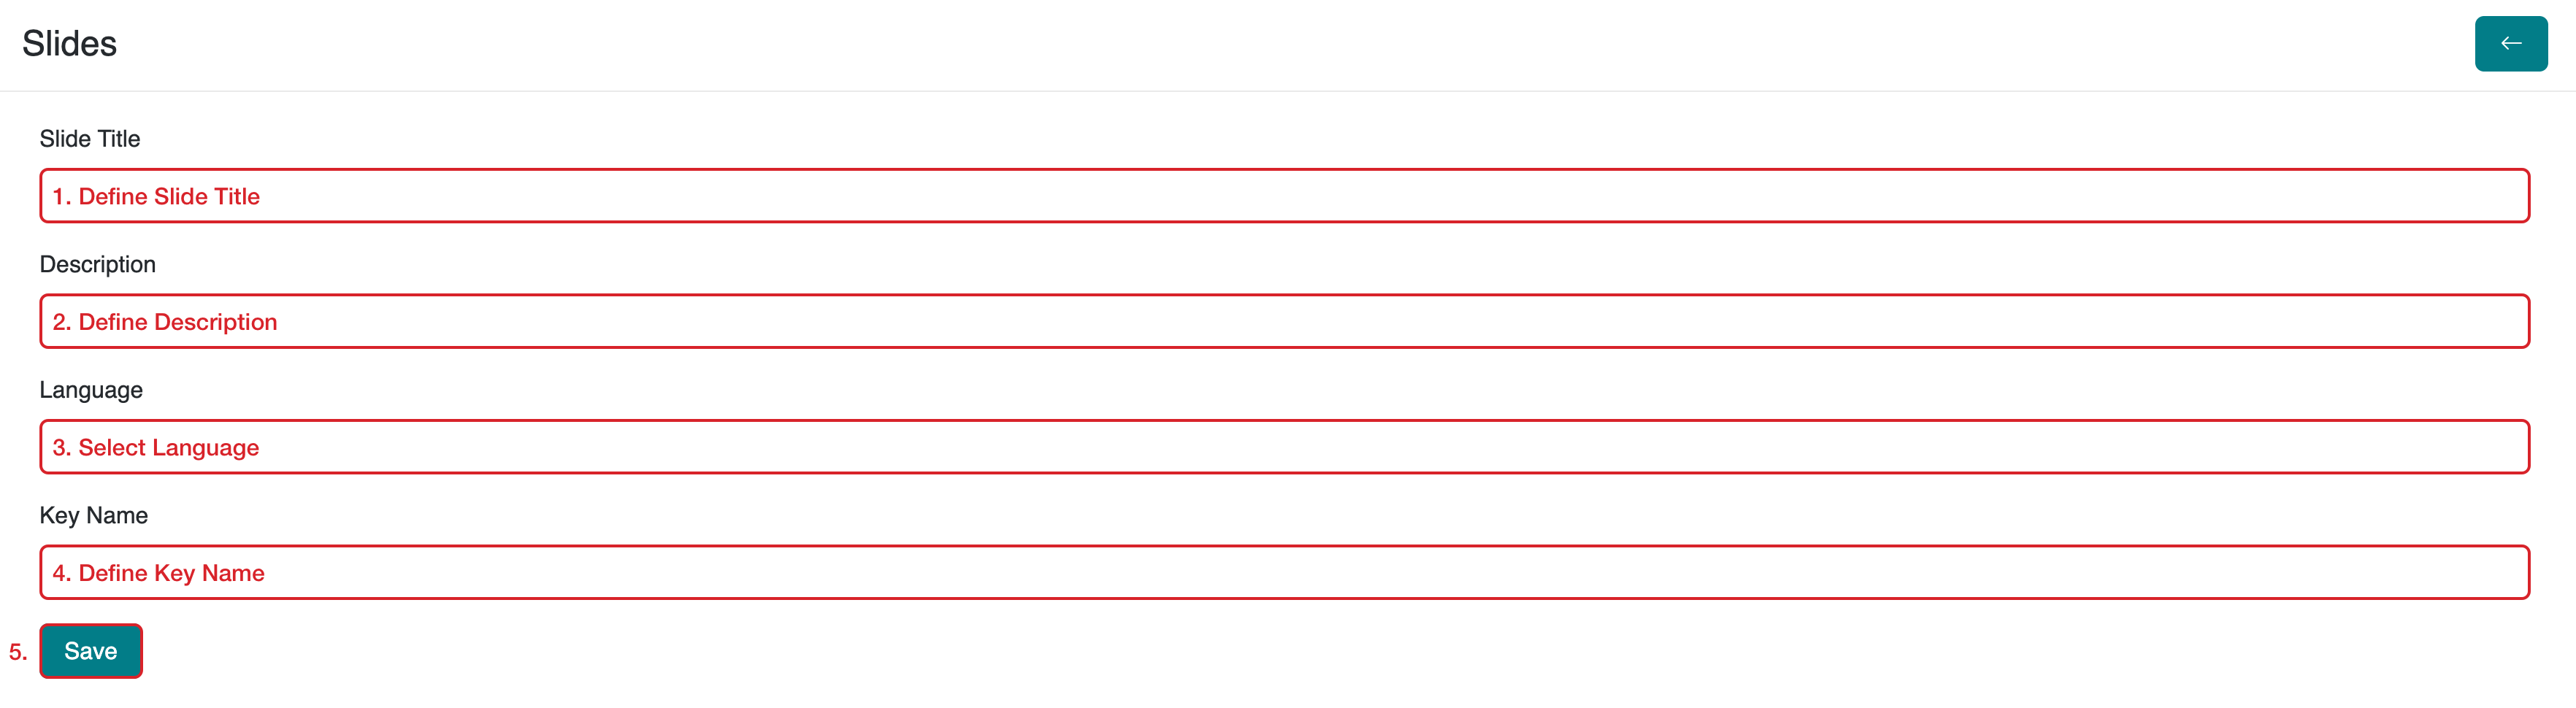
Step-by-Step Guide
-
Define Slide Title: Assign a name to the slide.
-
Define Description: Provide a description of the slide. (For example, define the standard resolution value of the images you want to upload, such as "1920 x 1080 px.")
-
Select Language: Choose the user language in which the slide will be displayed. If no language is selected, the slide will be shown to users in all languages.
For adding new languages to your serB2B system, contact [email protected].
-
Define Key Name: (You can later use this as an attribute.)
-
Click Save: Complete the process by clicking the Save button at the bottom of the page.
ii. Uploading Images and Adding Redirection to Slides
Select the slide title you want to add an image to, and then click + Add New Slide to perform the following actions:


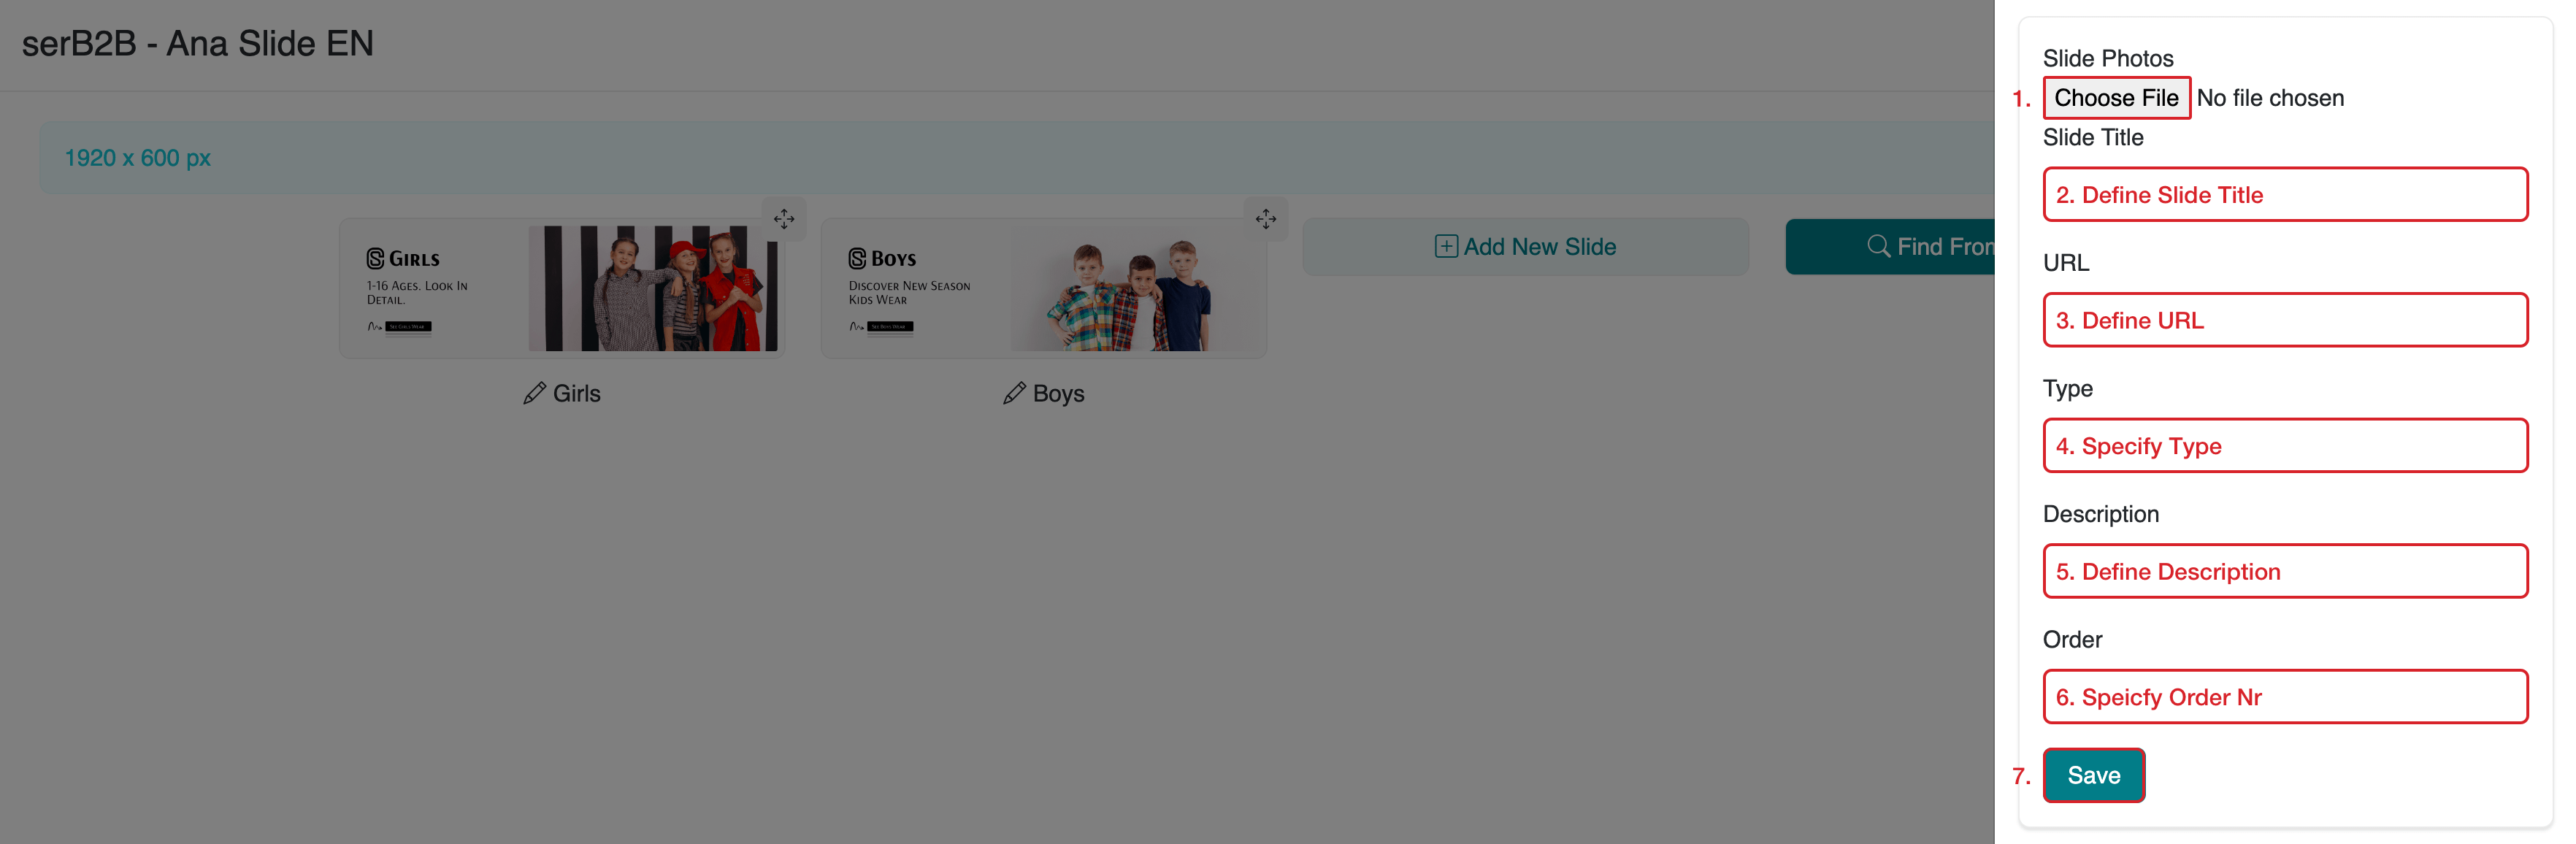
Step-by-Step Guide
-
Select Slide Photo: Choose the image you want to upload.
-
Define Slide Title: Assign a name to the slide. You can define this title in HTML if desired for display on your website.
-
Define URL: Add the URL to which users will be redirected when clicking on the image.
-
Specify Type: This feature is only applicable for redirections in Mobile Applications. Refer to the following guide for more details:
-
Add a Description: Define a description for the slide. You can define this description in HTML if desired for display on your website.
-
Specify Order Number: Specify the display order of the uploaded image. (For example, enter 1 if you want it to appear first.)
-
Click Save: Complete the process by clicking the Save button at the bottom of the page.
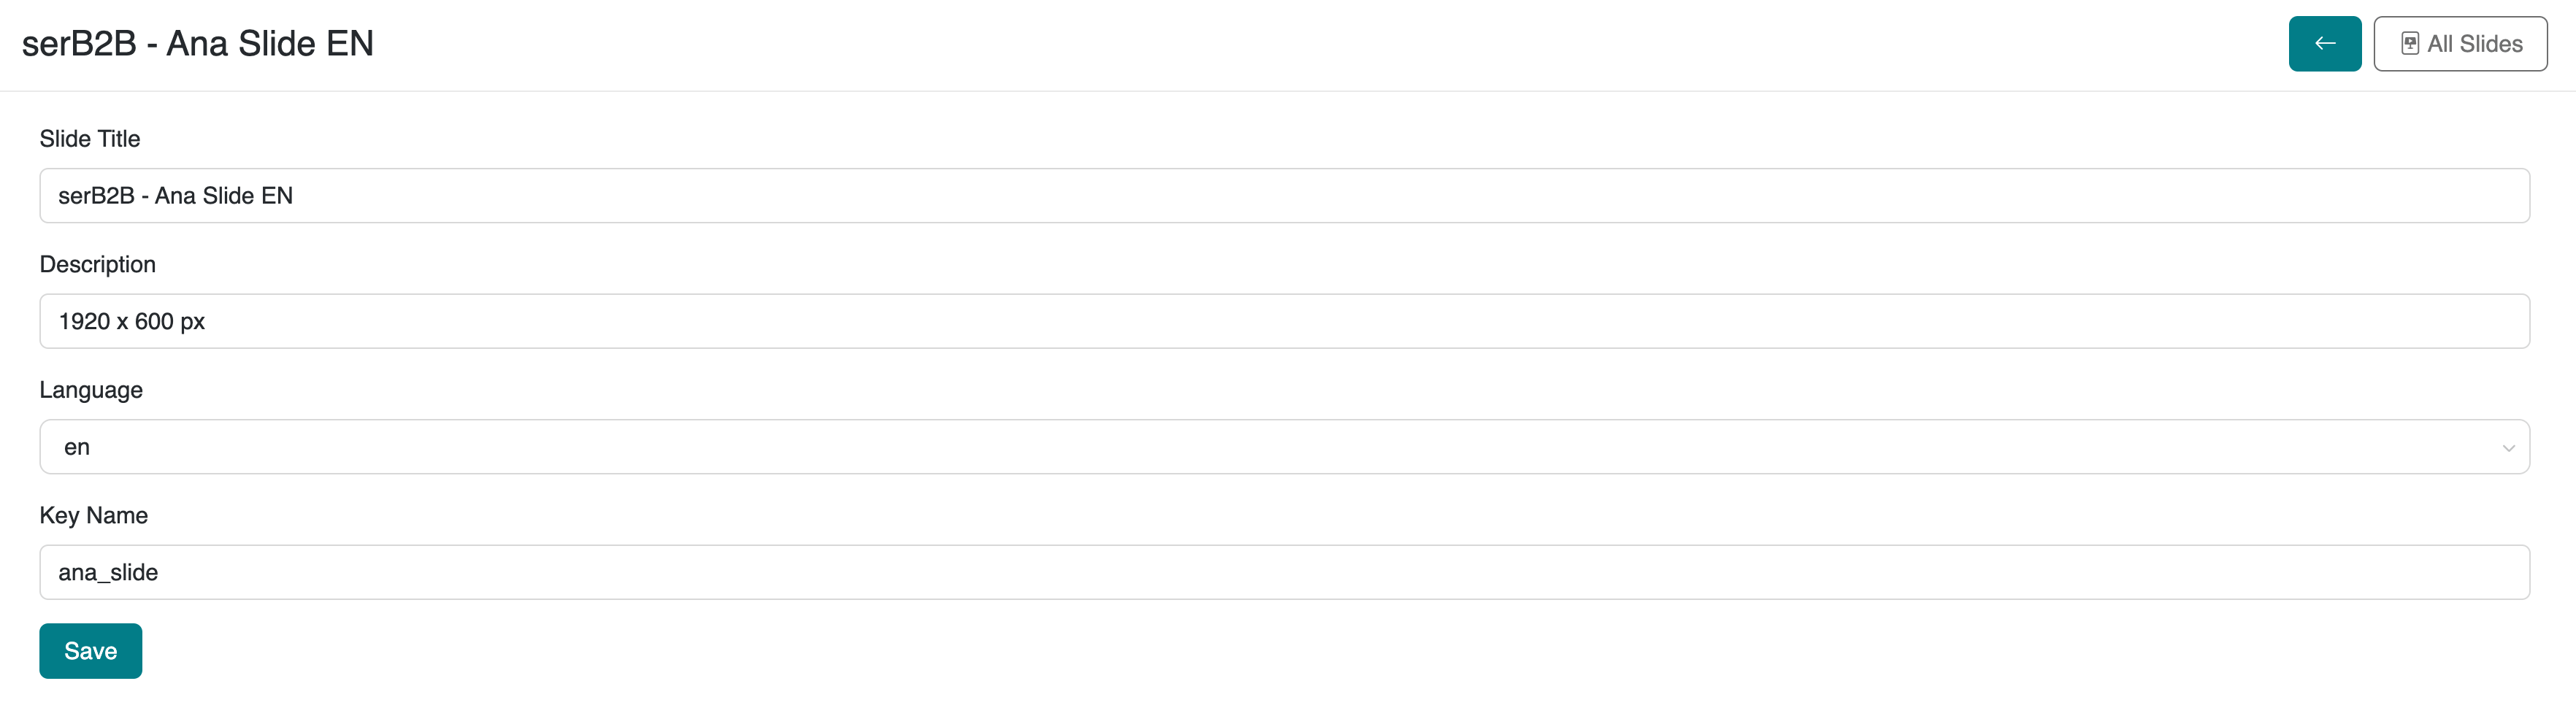
Editing Slide Titles

To edit a defined slide title, go to the Design > Slides section in the admin panel, click the Edit button at the end of the corresponding slide title row, and follow the guidelines in the Adding a New Slide Title section to make the necessary changes and save.
Editing Slide Images and Redirection Settings

To edit a defined slide image or redirection settings, go to the Design > Slides section in the admin panel, click the relevant slide title, select the image you want to edit, and follow the steps in the Uploading Images and Adding Redirection to Slides section to make the necessary changes and save.

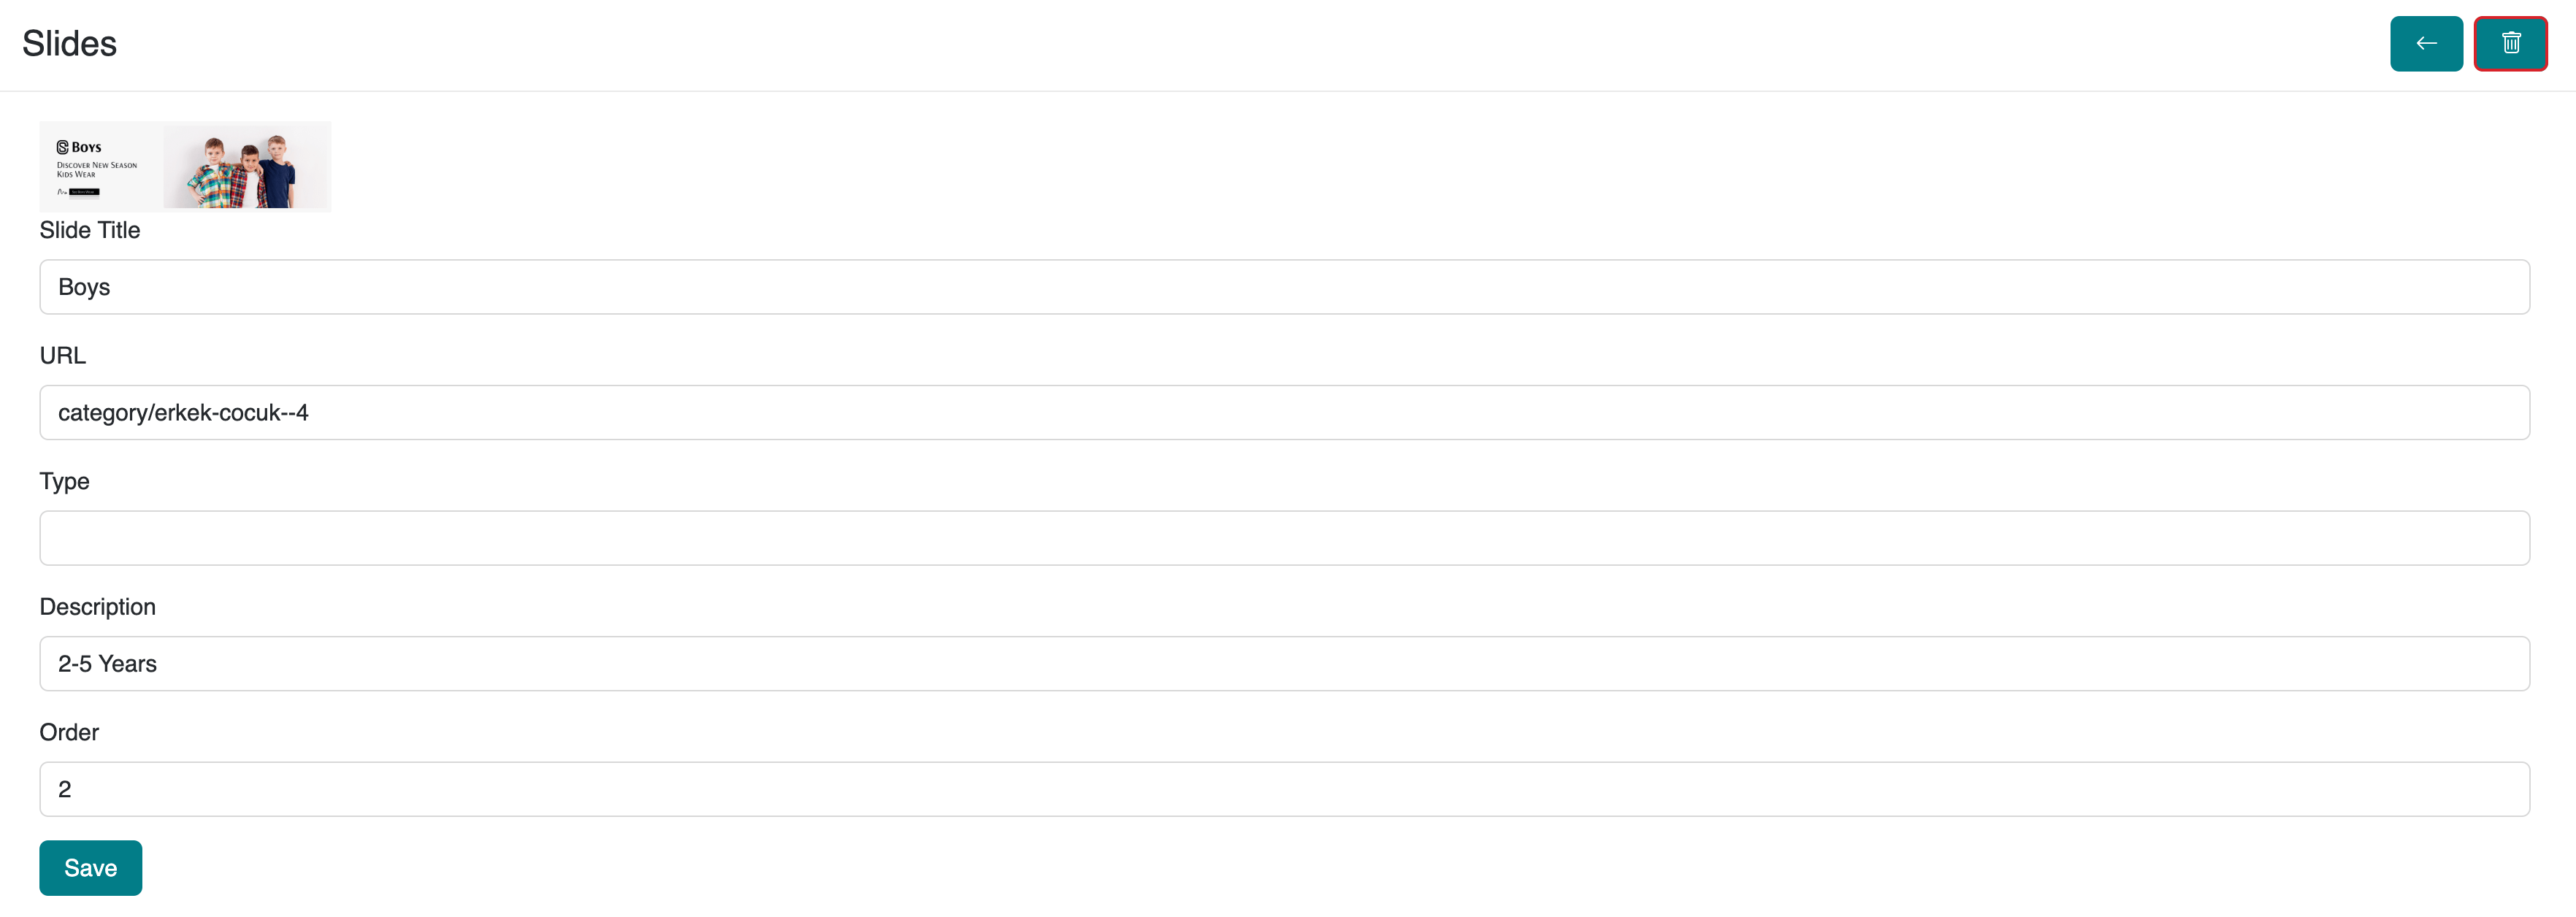
Deleting Slide Images
To delete a defined slide image, navigate to the Design > Slides section in the admin panel, select the relevant slide title, and click on the image you want to delete.
To complete the deletion process, click the ![]() button in the top right corner of the screen.
button in the top right corner of the screen.
To change the order of images, you can follow the instructions provided in the video.
To upload slide images from stock photos, follow the instructions in the video. Stock photos are integrated with 'Pexels.com.'
Frequently Asked Questions (FAQ)
-
What format should the images I upload be in?
The images you upload should be in .png, .jpg, .jpeg, or .webp formats. For video content, use .mp4 format.
-
How can I make a slide visible in only one specific language?
When creating a slide, you can select the language in which it will be displayed. If no language is selected, the slide will be visible to users in all languages.
-
Can I change the order of the slides?
Yes, you can determine the order of slides by entering a value in the "Order Number" field. For example, enter "1" for the slide you want to appear first. You can also change the order later.
Related Resources
Contact and Support
For any questions or support requests, contact our support team. We are happy to assist you.