User Registration Channels
You attend trade fairs, run advertising campaigns. But you don't know how many customers came from which channel. You can't measure how many customers the budget you allocated to the Serenay Fair 2026 brought you.
With the User Registration Channels feature, you can define your own channels: such as Serenay Fair 2026, Social Media. When adding a new customer, you select the relevant channel from the customer details. You can clearly see how many customers each channel brought and now manage your marketing budget based on data.
To access this tab; Admin Panel > Marketing > User Registration Channels

1. Creating a New Channel
To create a new registration channel, click the "+" button in the top right corner of the page.

Fields to fill in:
- Name — Enter the channel name. (e.g., Serenay Fair 2026, Social Media)
- Description — Add a short description for the channel. (e.g., Fair Customers, Social Media Customers)
After entering the information, click the "Save" button.
2. Assigning a Channel to a Customer
After defining the channels, you can go to the customer detail page and assign the relevant channel to the customer.
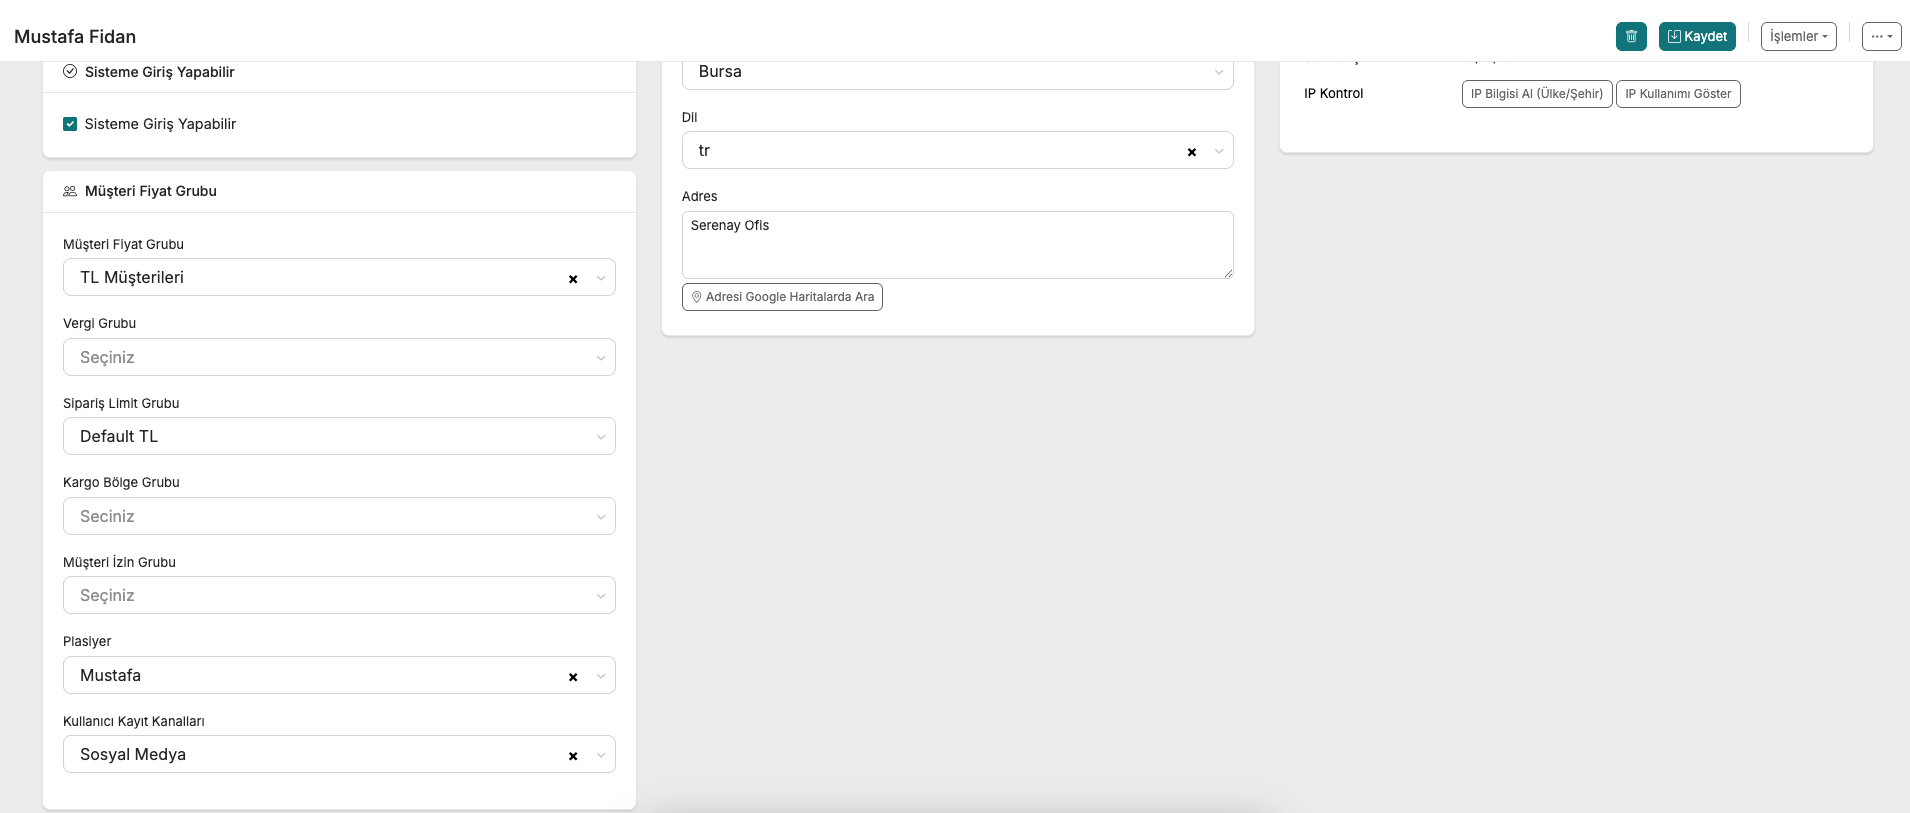
On the customer detail page, select the channel from the "User Registration Channels" field and click the "Save" button. This records which channel that customer came from in the system.
3. Filtering Customers by Channel
To see the customers in a specific channel, go to the Customers > All Customers page.
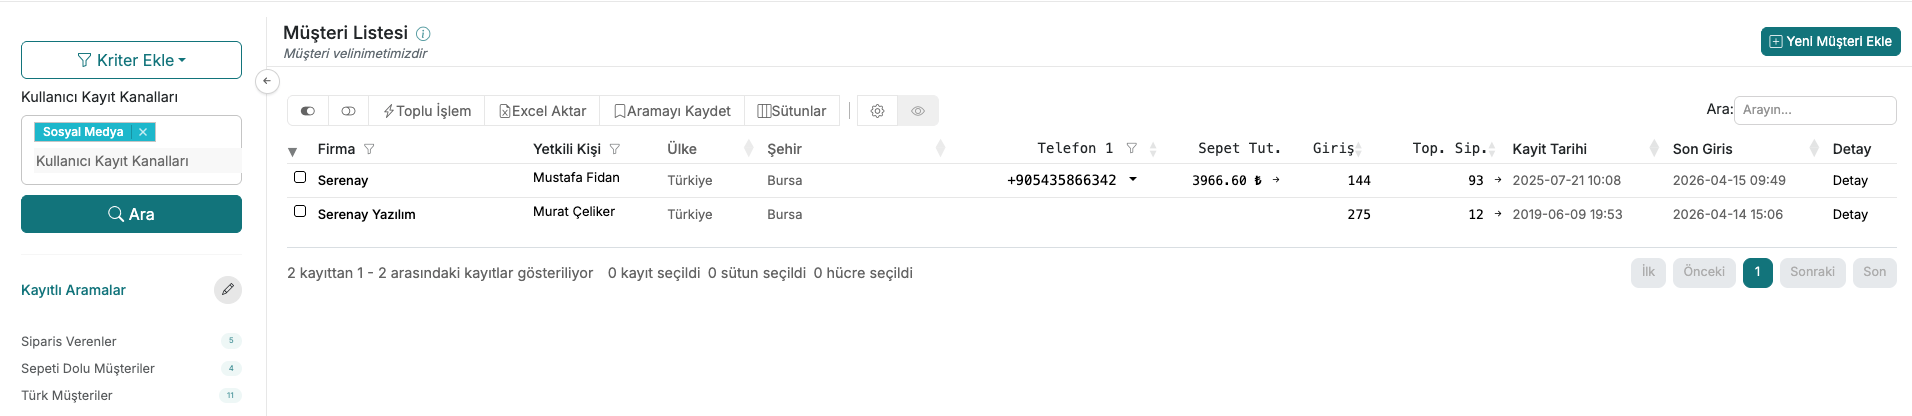
Click the "Add Criteria" button, select the "User Registration Channels" criterion, and choose the channel you want to filter by. As a result of the filtering, you can access the list of all customers belonging to that channel. For example, you can view customers who came from the Serenay Fair 2026 only, or customers who came from Social Media only, separately.
Contact and Support
If you encounter any issues or need assistance, you can contact our support team. We will be happy to assist you as soon as possible.