Membership
This document allows you to manage and customize the content on the Member Login and Member Registration pages according to your processes.
Membership Settings
To configure membership-related settings, go to Settings > Membership in the serB2B admin panel.
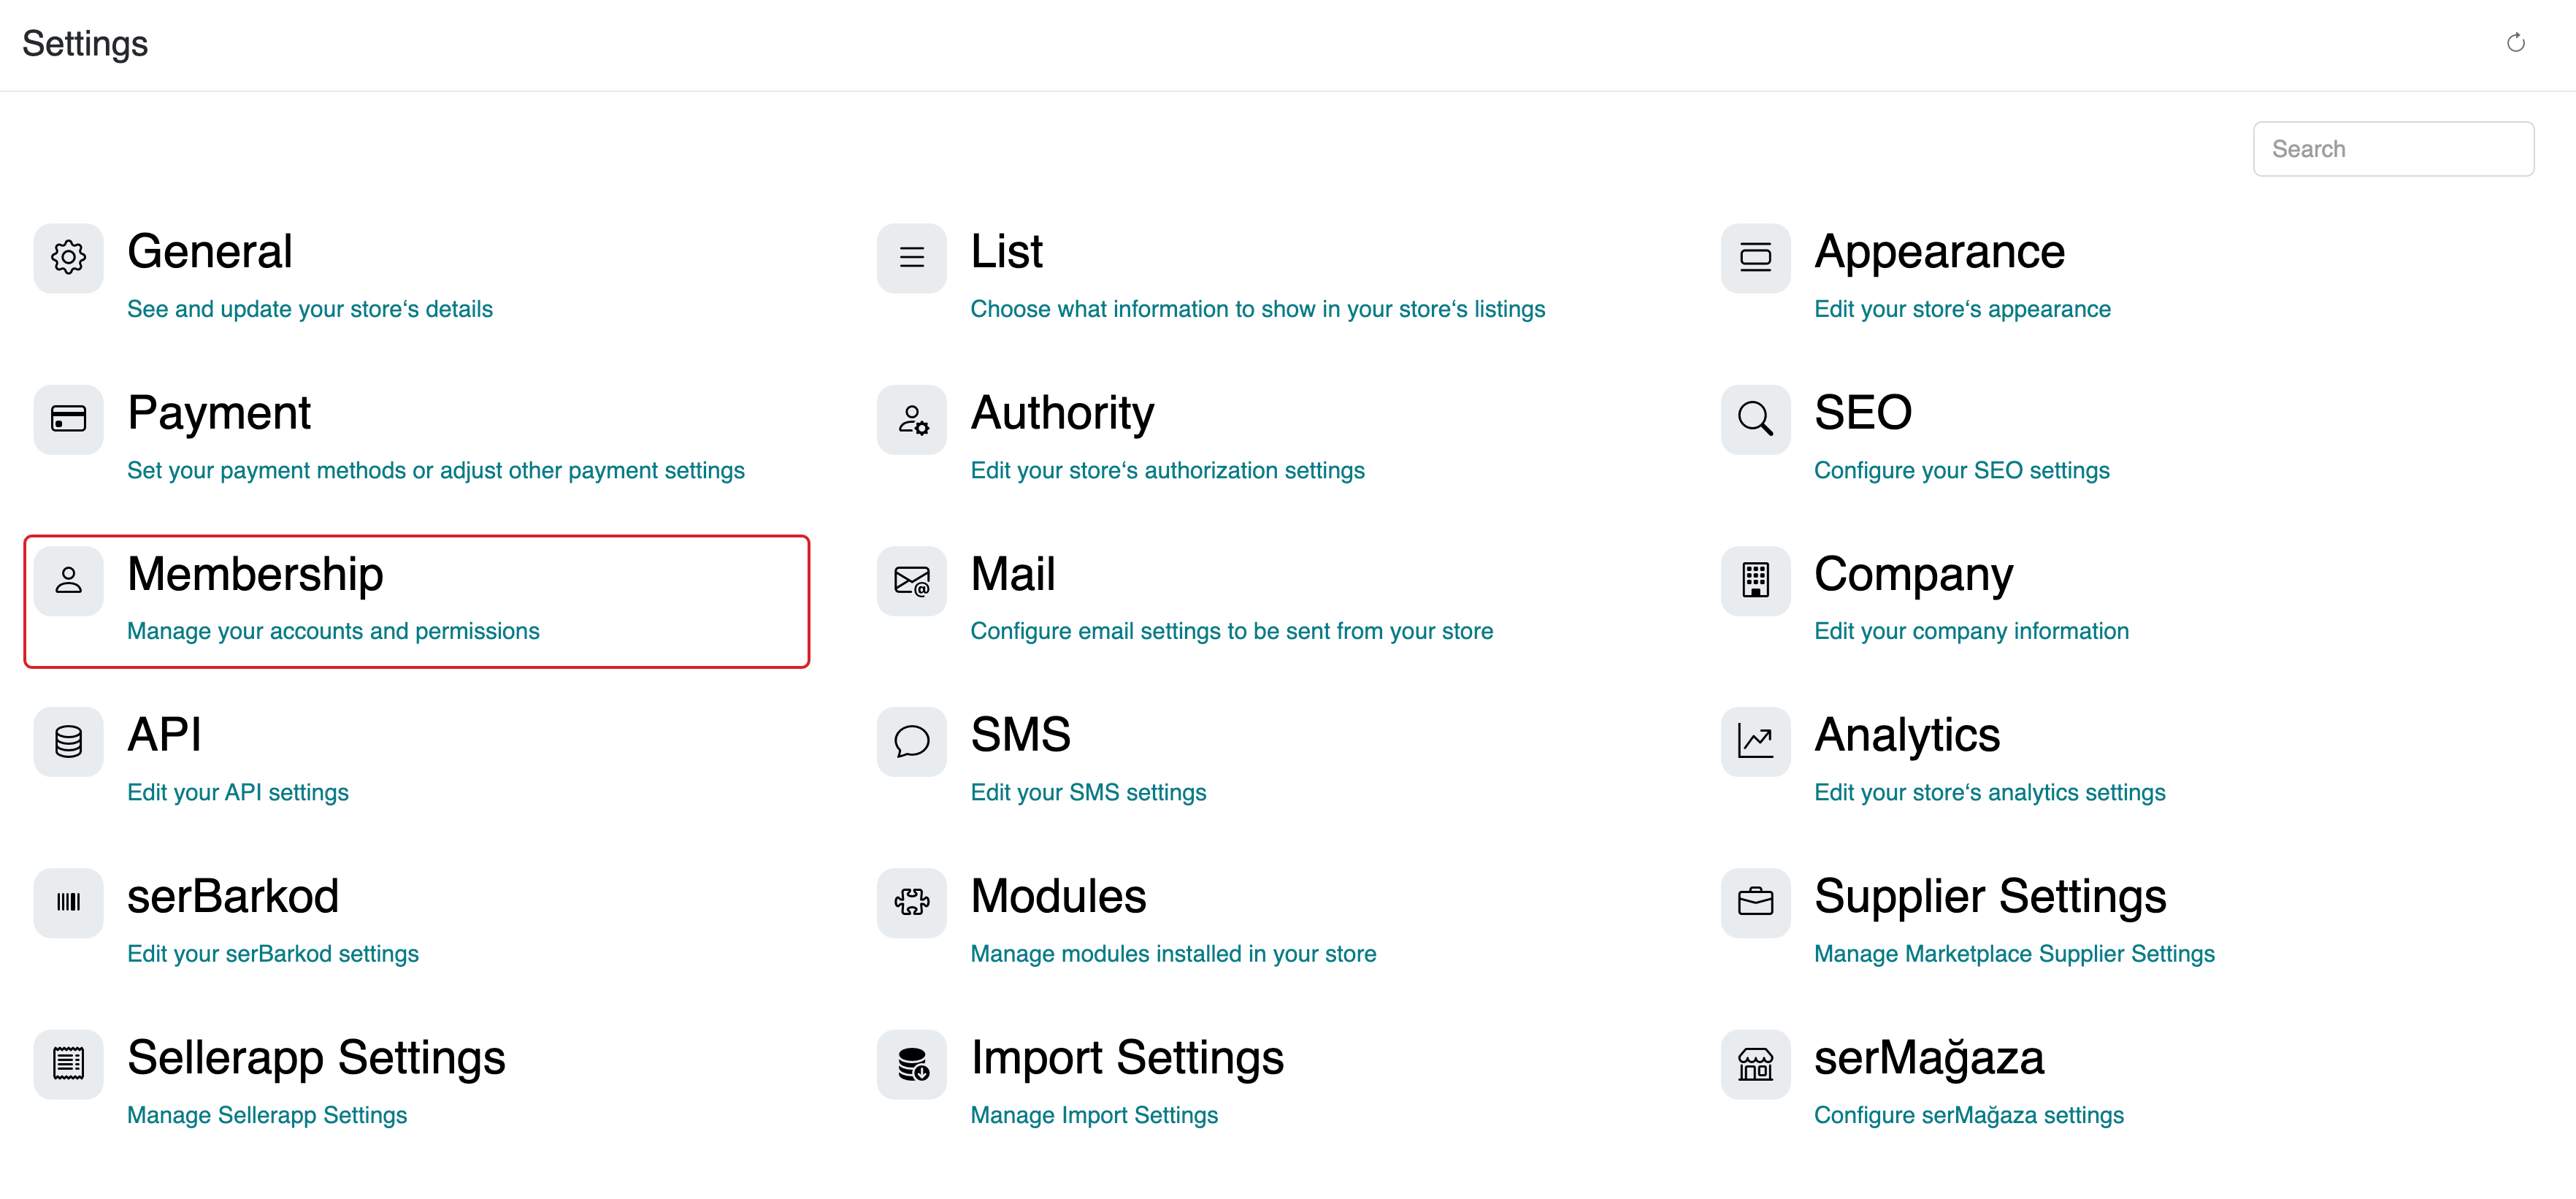
In the Membership settings window, use the available features to complete your customization.
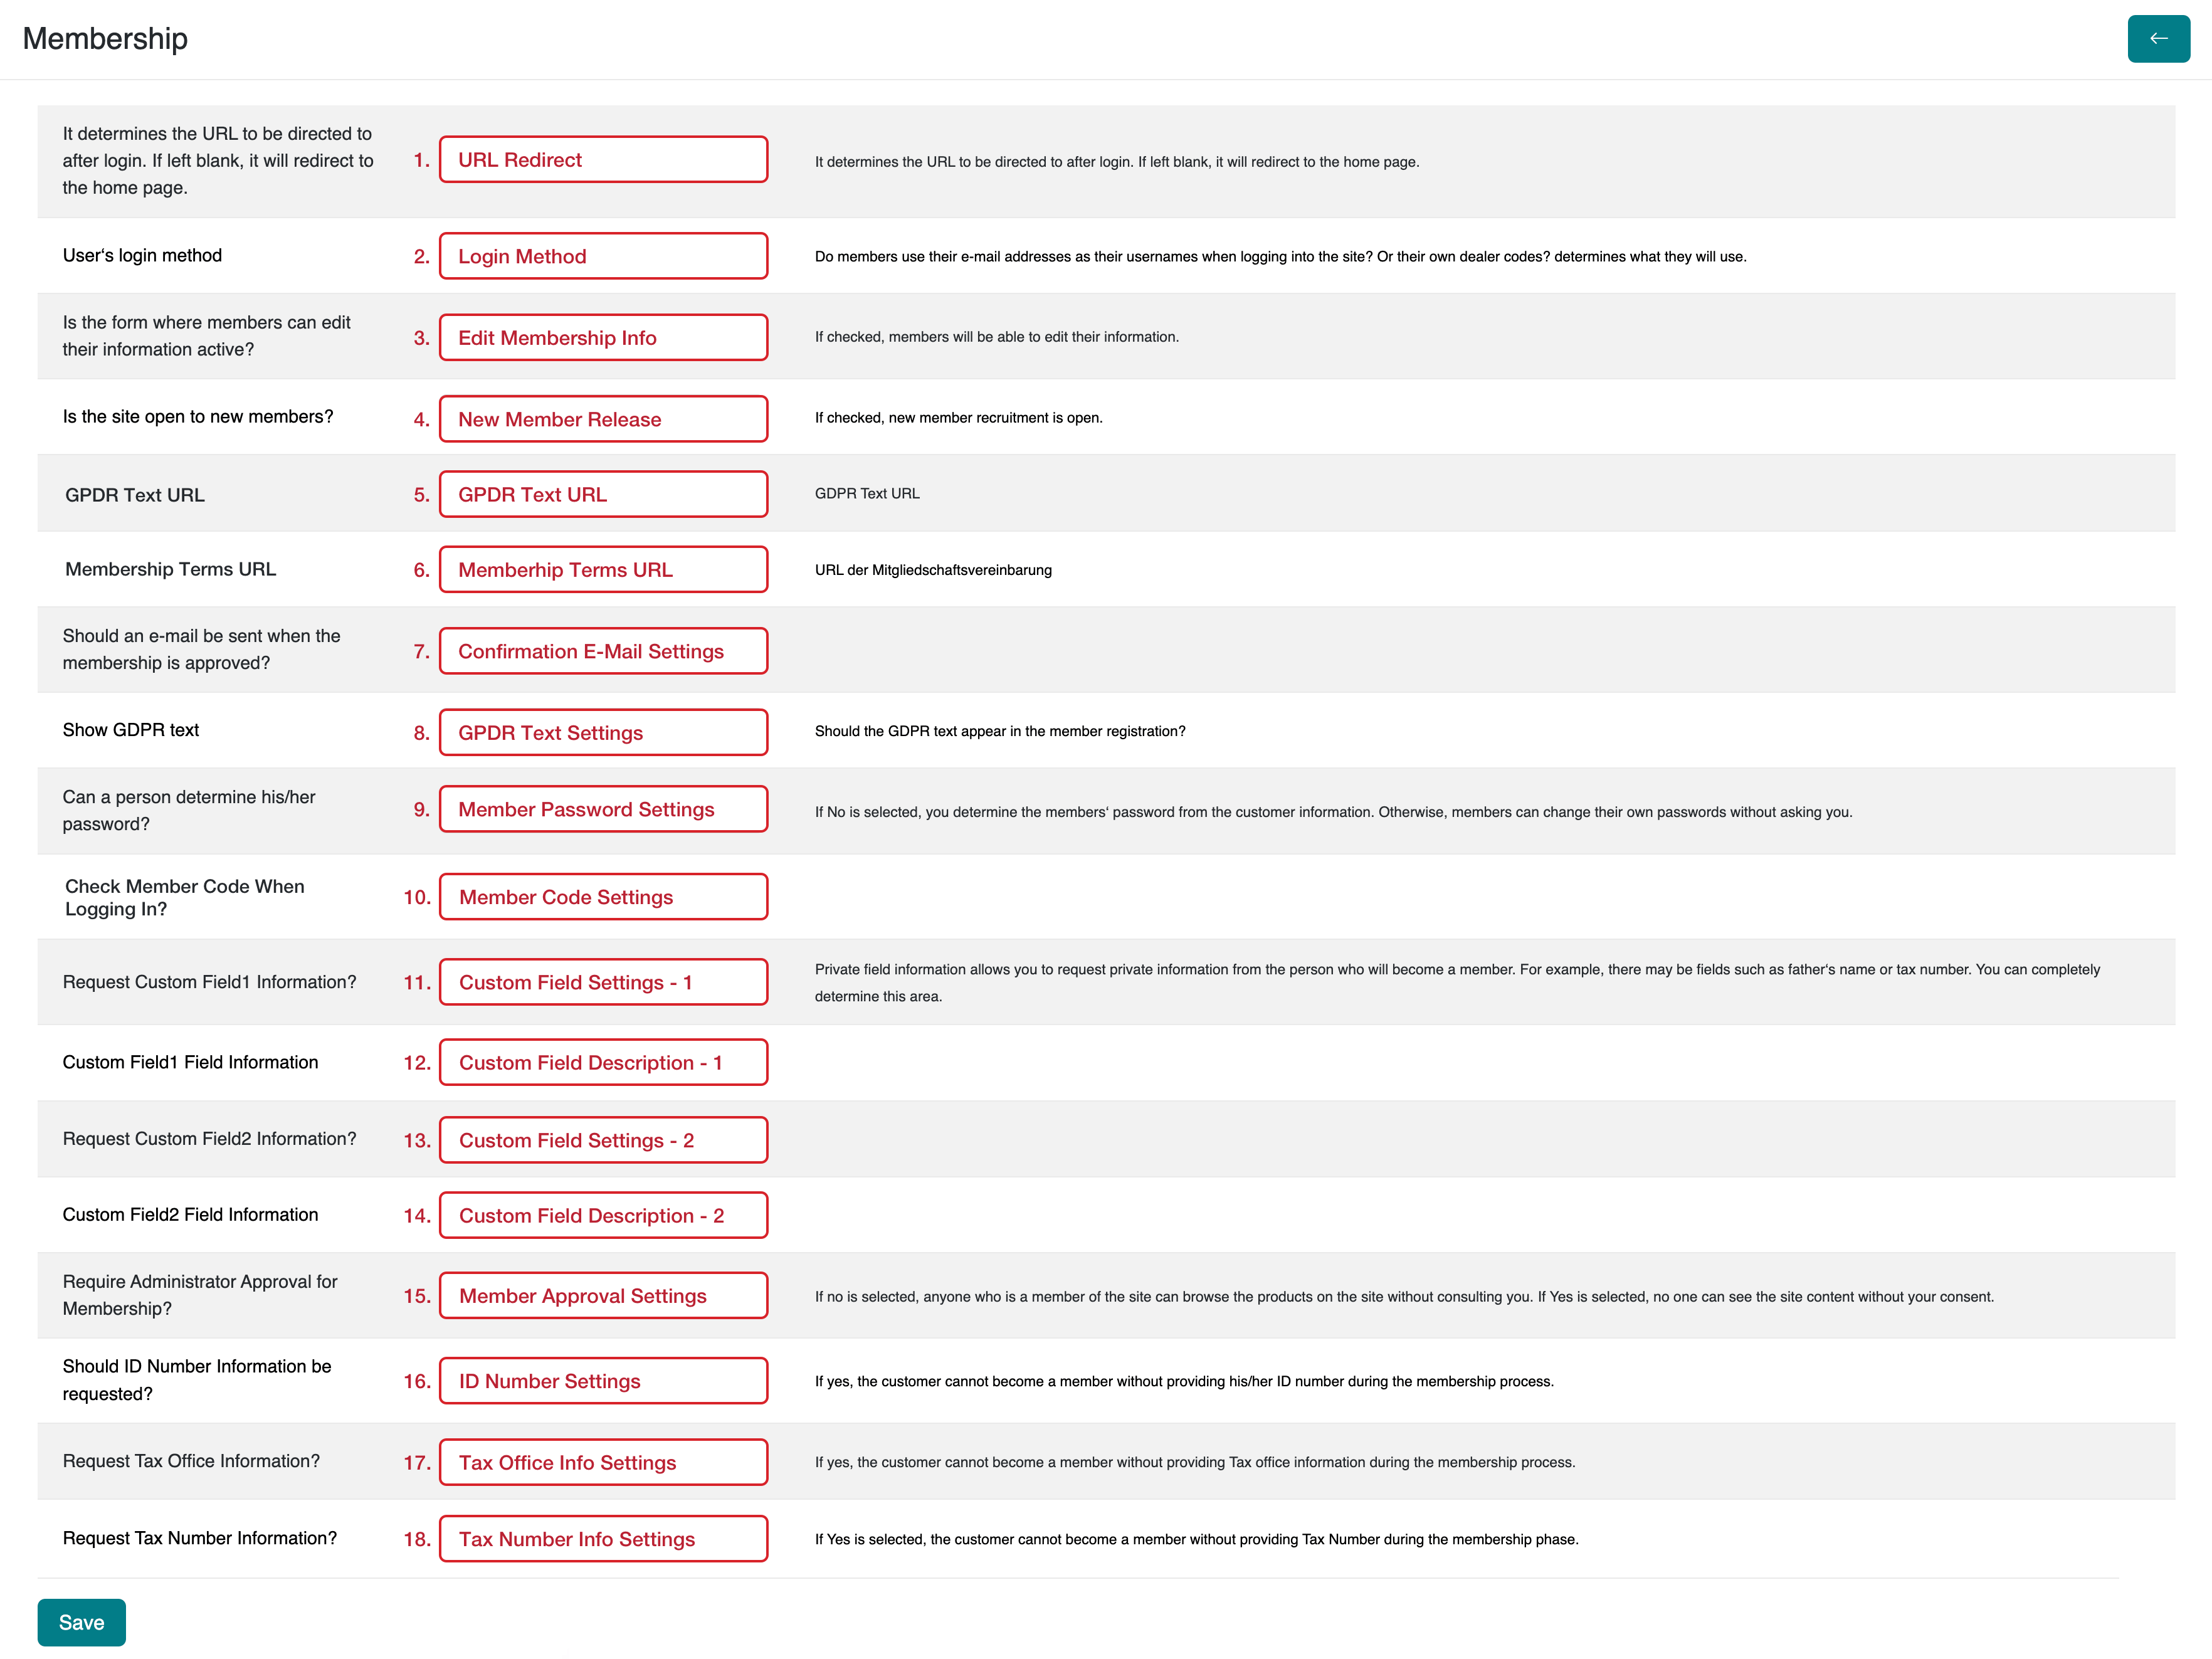
1. URL Redirection
Define the page that users will be redirected to after logging into your serB2B E-Commerce site. Leave it blank to redirect users to the homepage by default.
2. Login Method
Choose how users log in to your serB2B E-Commerce site. Select either Email or Dealer Code as the login method.

3. Edit Membership Info
To allow users to change their registered information, select Active and save. If you do not want users to update their information, select Inactive.
4. New Membership Release
To allow new users to register on your site, select Active. If you want only registered users to access the site, select Inactive.
5. GPDR Text URL
Enter and save the URL of the GPDR document you created for your E-Commerce site.
6. Membership Terms URL
Enter and save the URL of the Membership Agreement you created for your E-Commerce site.
7. Confirmation E-mail Settings
Select Yes to send an email to users after their membership is approved. If you do not want any email notifications, select No.
8. GPDR Text Settings
If you want the GPDR text to appear on the registration page during user sign-up, select Yes. If not, select No.
9. Member Password Settings
To allow registered users to change their passwords, select Yes. If not, select No.
10. Member Code Settings
If you want to validate the customer code when users log in, select Yes. If not, select No.
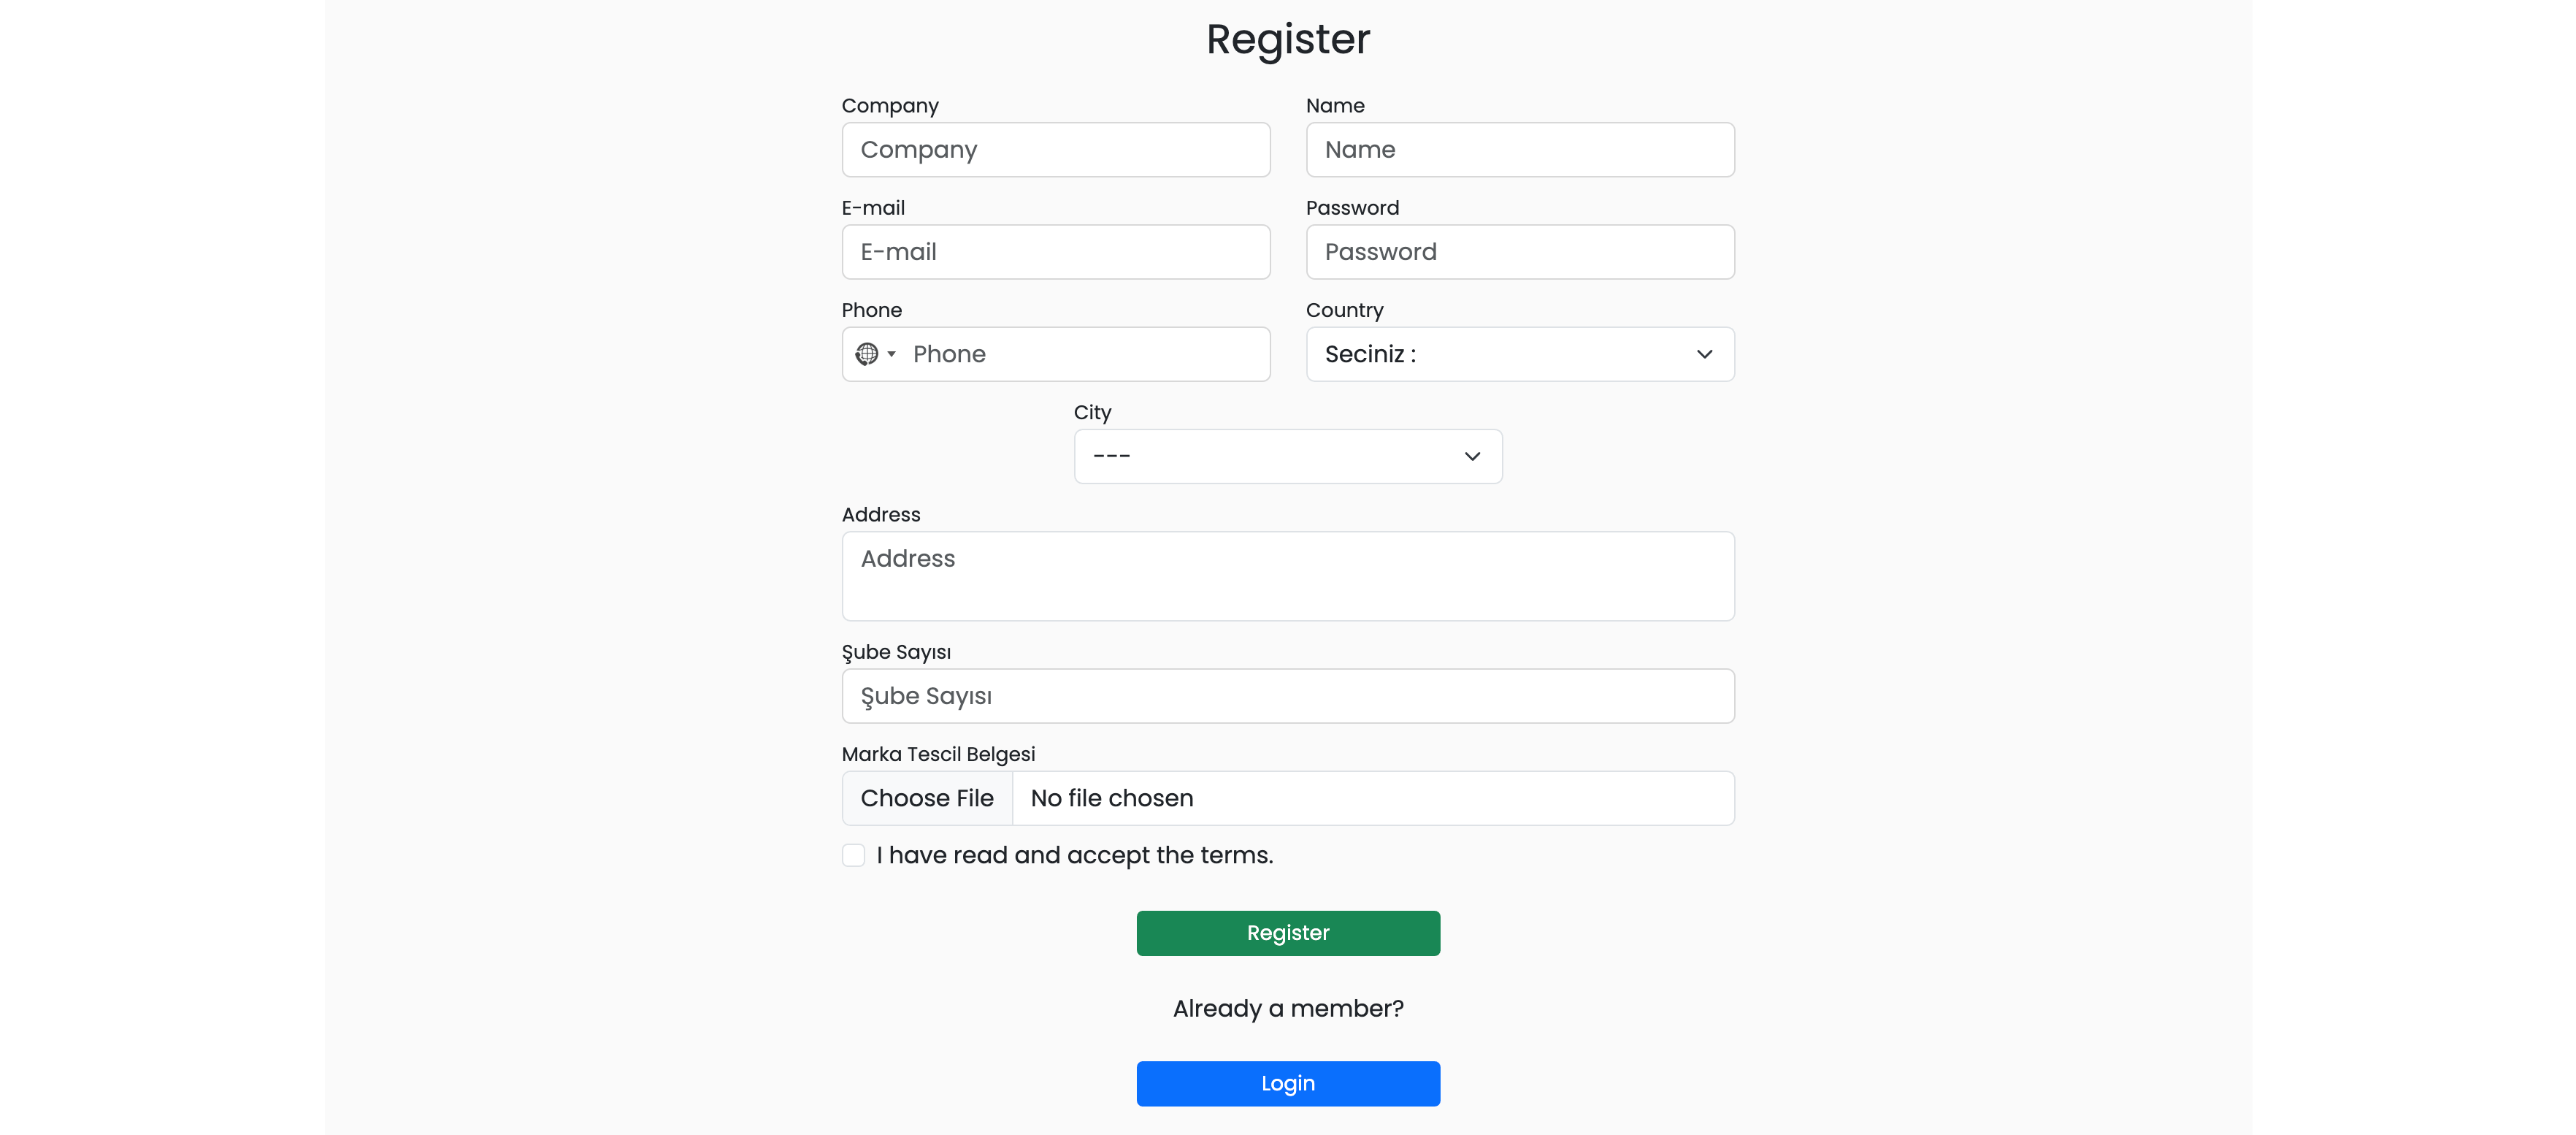
11. Custom Field Settings - 1
If you want to request specific custom information (e.g., Father's Name, Gender, Instagram Handle) from users during registration, select Yes. If not, select No.
12. Custom Field Description - 1
Enter the description for the first custom field to be displayed on the registration page.
13. Custom Field Settings - 2
If you want to request a second custom information field from users during registration, select Yes. If not, select No.
14. Custom Field Description - 2
Enter the description for the second custom field to be displayed on the registration page.
15. Member Approval Settings
If you want new users to be approved by an admin before they can access the site, select Yes. To allow access without admin approval, select No.
16. ID Number Settings
If you require users to enter their National ID Number during registration, select Yes. If not, select No.
17. Tax Office Info Settings
If you require users to enter their Tax Office information during registration, select Yes. If not, select No.
18. Tax Number Info Settings
If you require users to enter their Tax Number during registration, select Yes. If not, select No.
Frequently Asked Questions (FAQ)
-
1. Why can't a user log in after registering?
If the “New Membership Release” setting is set to Yes, the user must be approved by an admin before they can log in. If not approved, they won’t be able to access the system.
-
2. Can I add my own custom fields to the registration form?
Yes. You can enable Custom Field Settings - 1 and Custom Field Settings - 2 to add two custom fields. Be sure to enter the field descriptions as well.
-
3. How can I make users log in using their customer code instead of email?
Set the Login Method to Customer Code. This will allow users to log in with their customer code instead of an email address.
Resources
Contact
For any questions or support requests, feel free to contact our support team. We’ll be happy to assist you.