PayTR Virtual POS
You can follow the steps below to complete the PayTR Virtual POS integration.
1. Defining a POS in the serB2B Panel
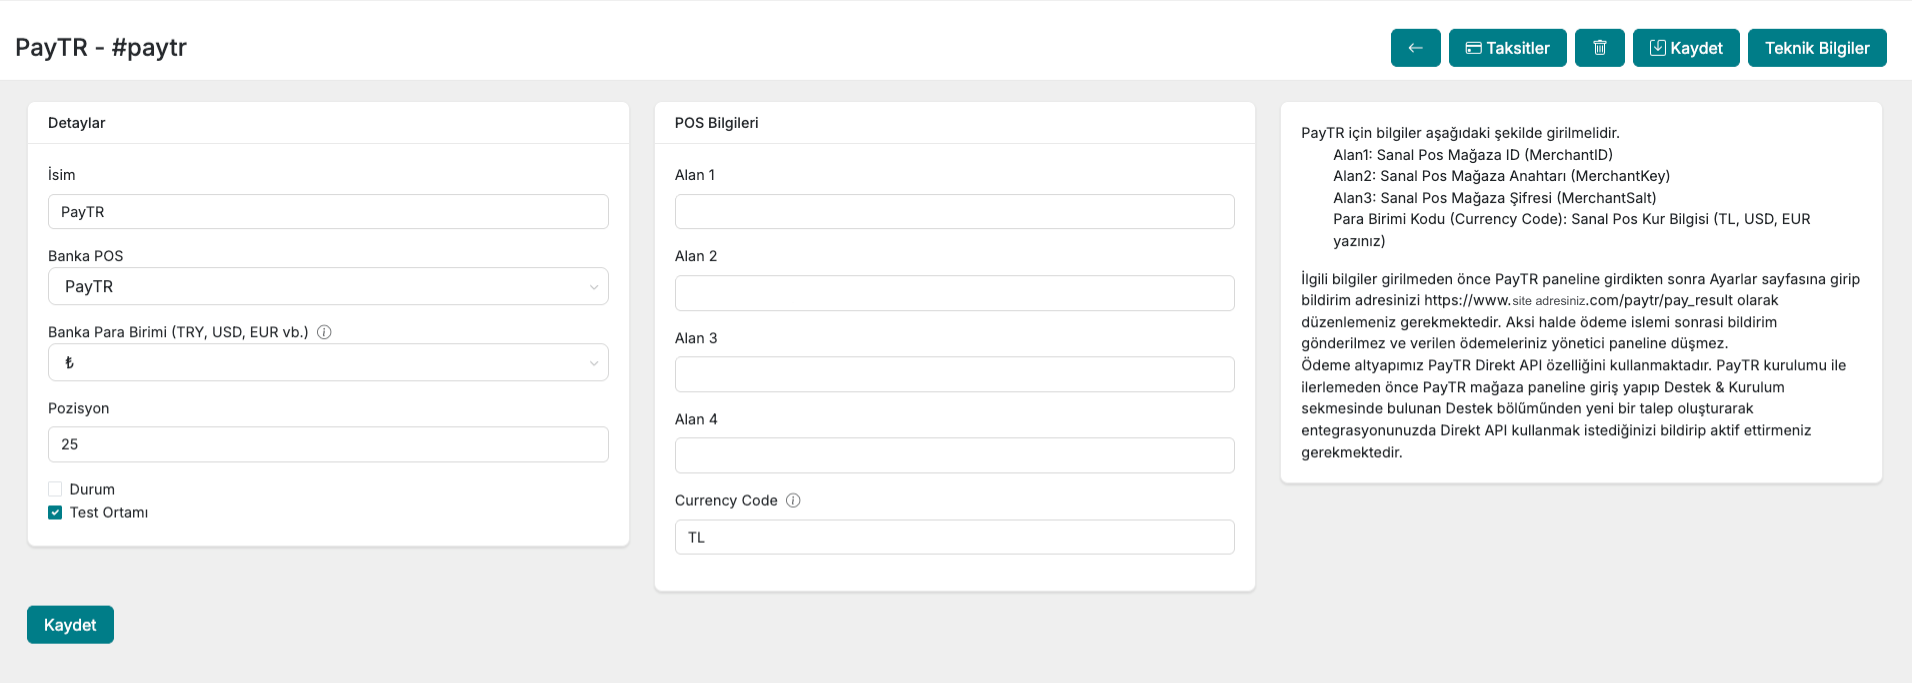
First, in the serB2B e-commerce admin panel, click on Settings > Payment Settings > + to be directed to the new virtual POS setup screen.
2. Obtaining the Required Information
Next, you need to log in to the PayTR Store Panel. Log in at https://www.paytr.com/magaza/kullanici-girisi.
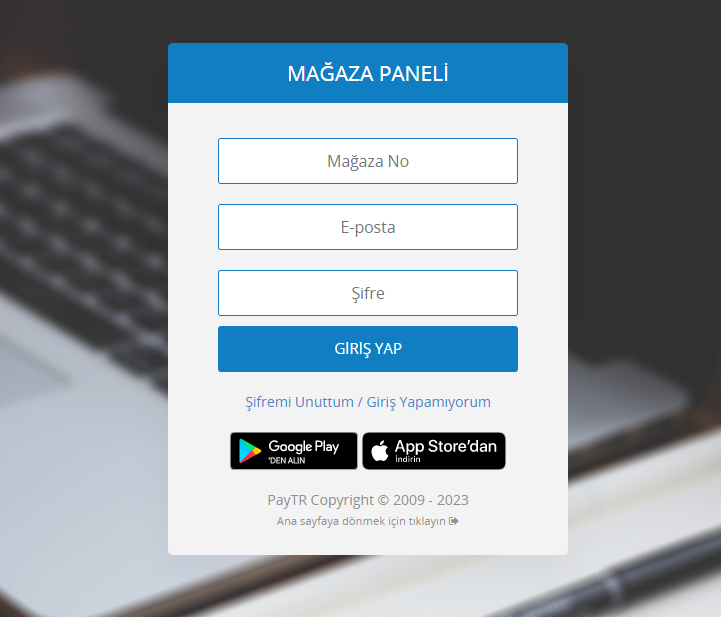
After logging in to the bank panel, you need to obtain the following for integration with your serB2B site:
- Virtual POS Store ID (MerchantID)
- Virtual POS Store Key (MerchantKey)
- Virtual POS Store Salt (MerchantSalt)
2.1. Steps to Follow in the PayTR Panel
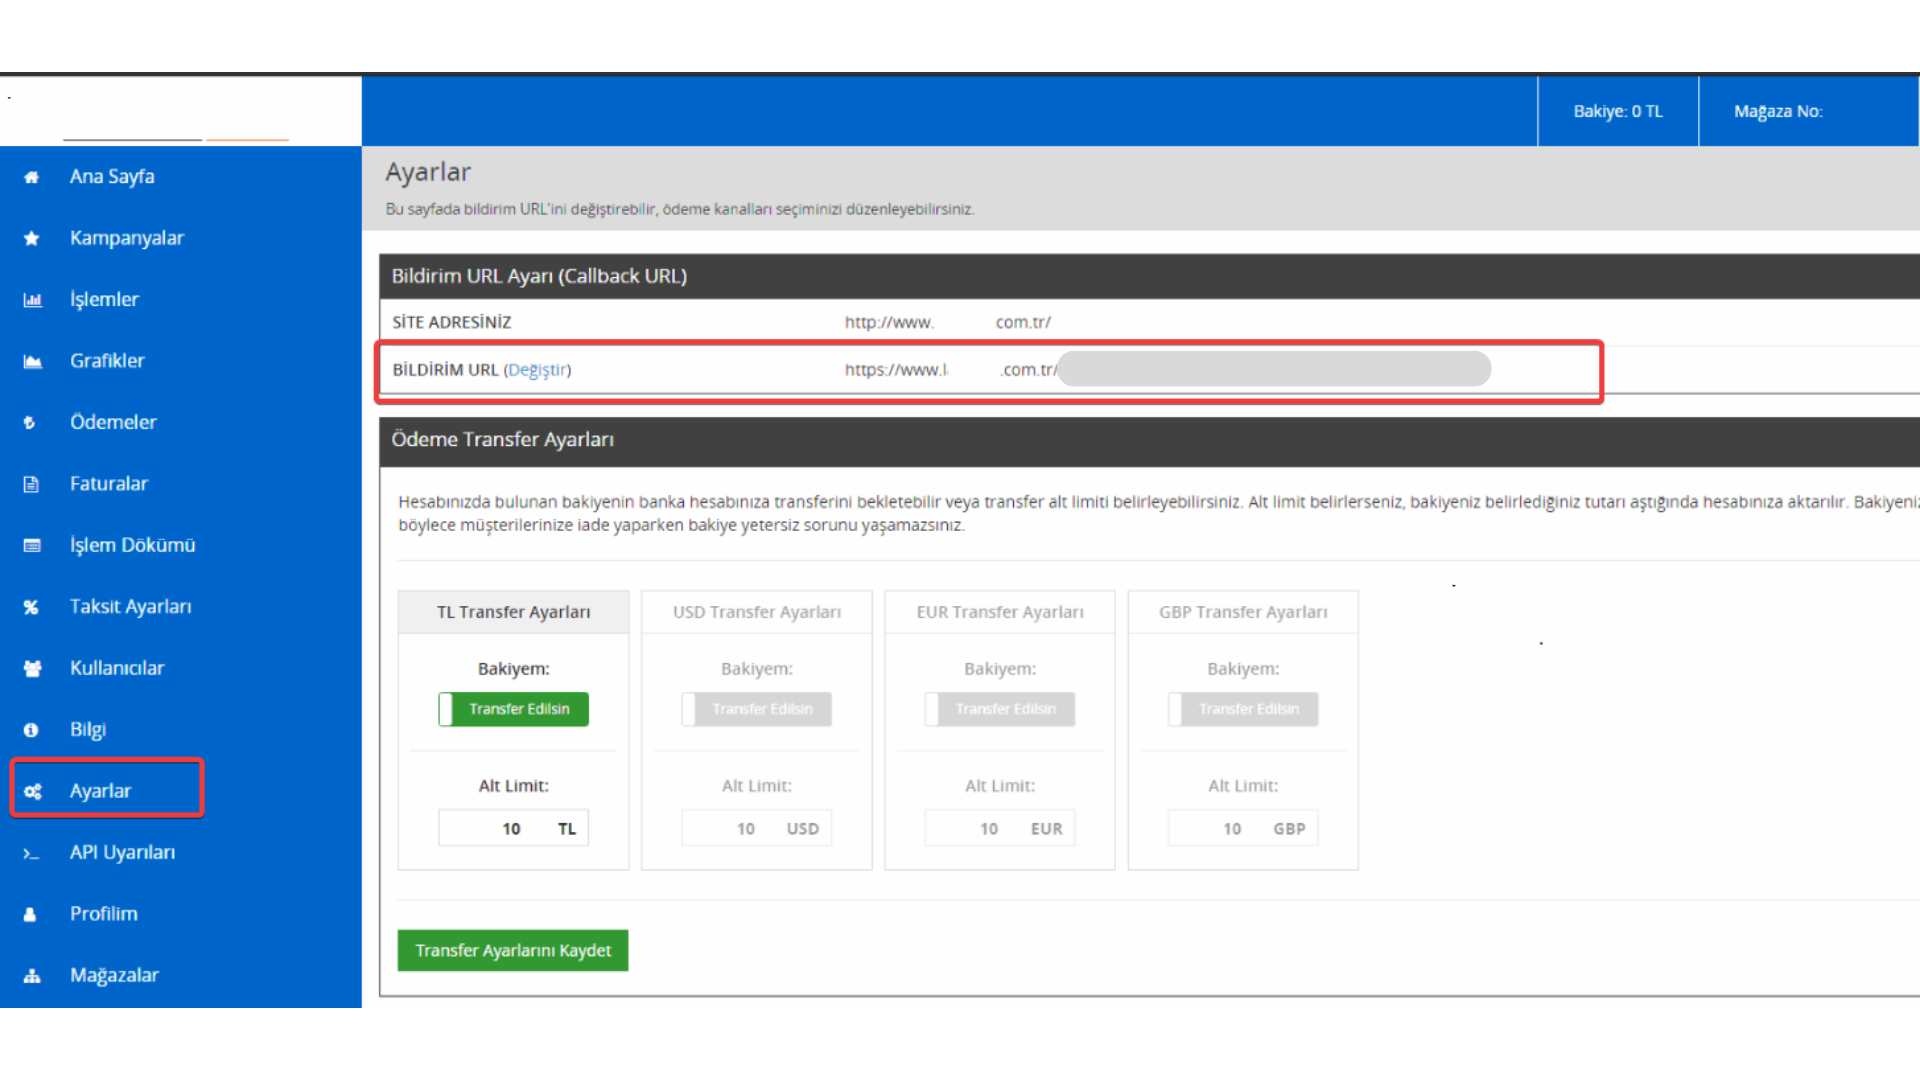
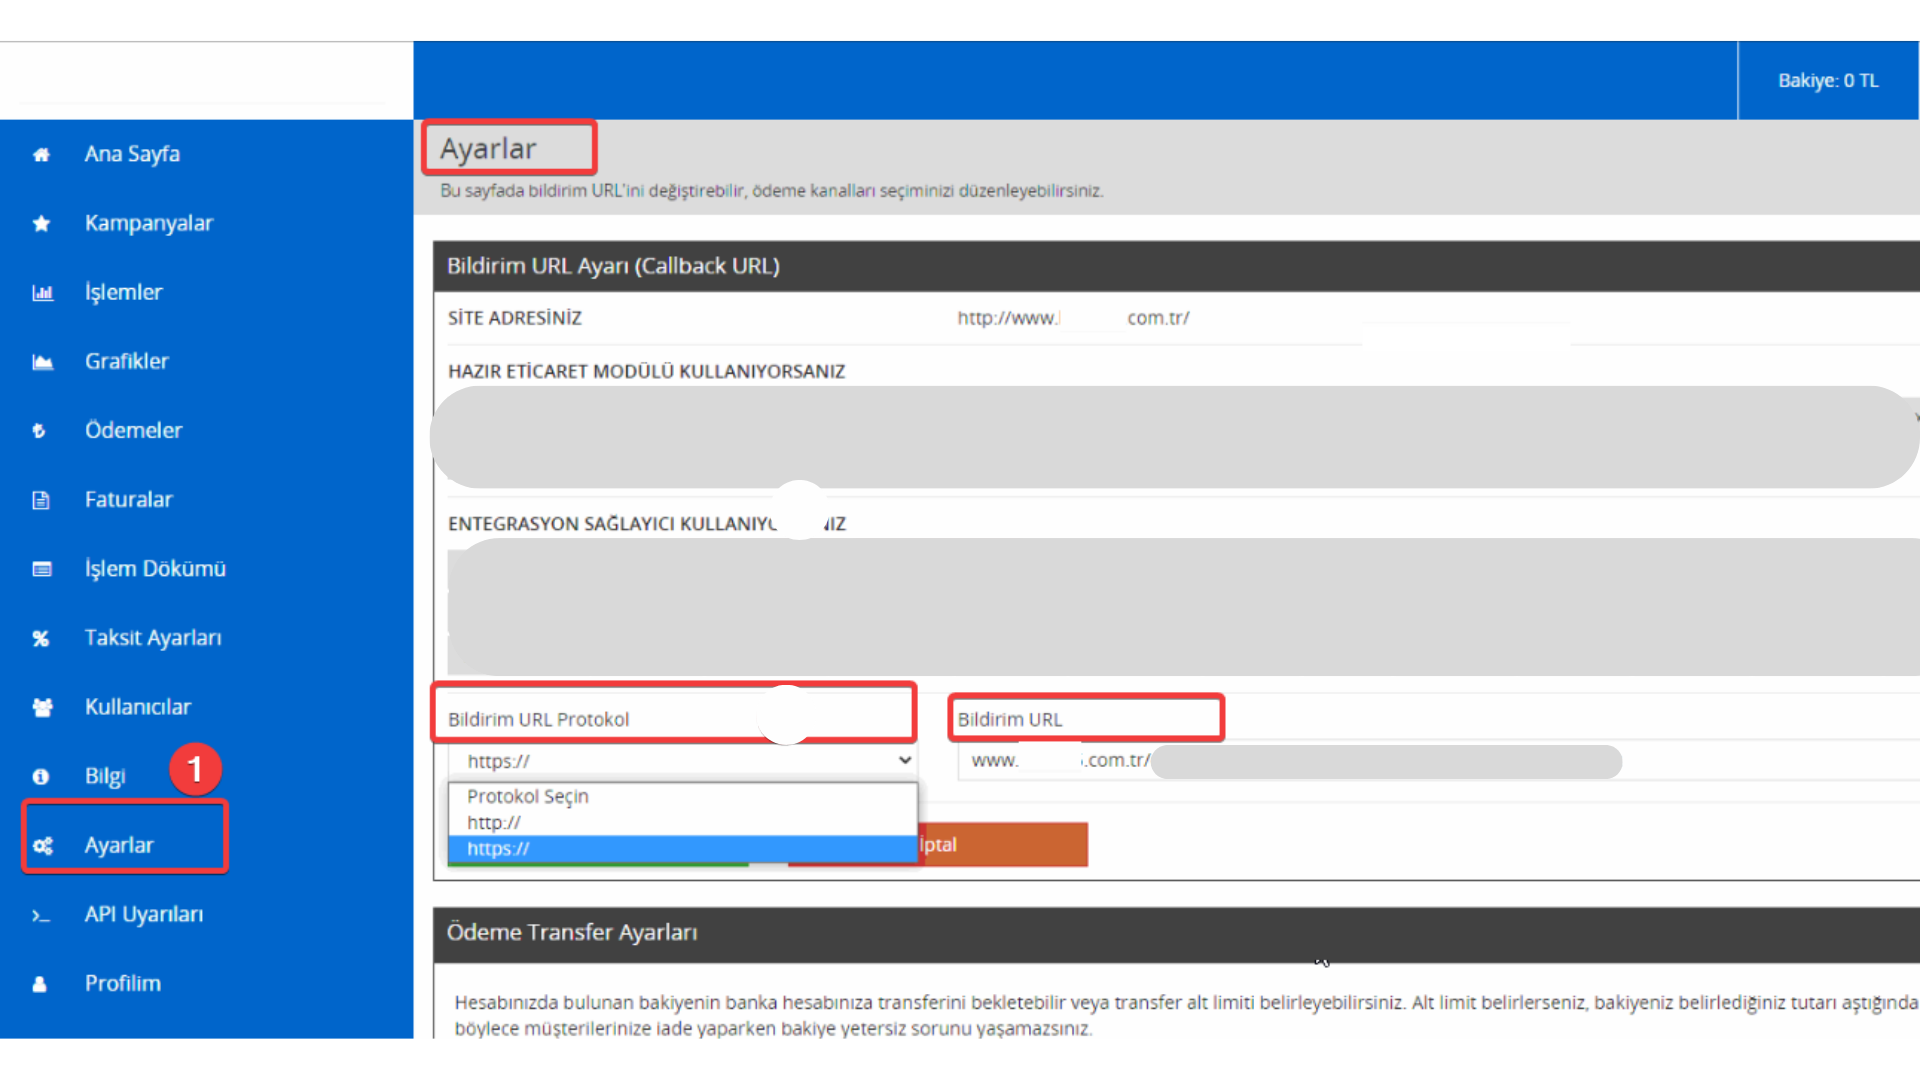
- After logging into the PayTR panel, use the "Settings" menu in the left menu to mark the "Change" field under the "Notification URL" heading.
- You need to set the end of your Notification URL as . Otherwise, no notification will be sent after the payment process and your received payments will not appear in the admin panel.PayTR Bildirim URL OluşturucuSite adresinizÖNEMLİ: Bu adresi doğru girmezseniz ödeme sonrası bildirim gelmez.
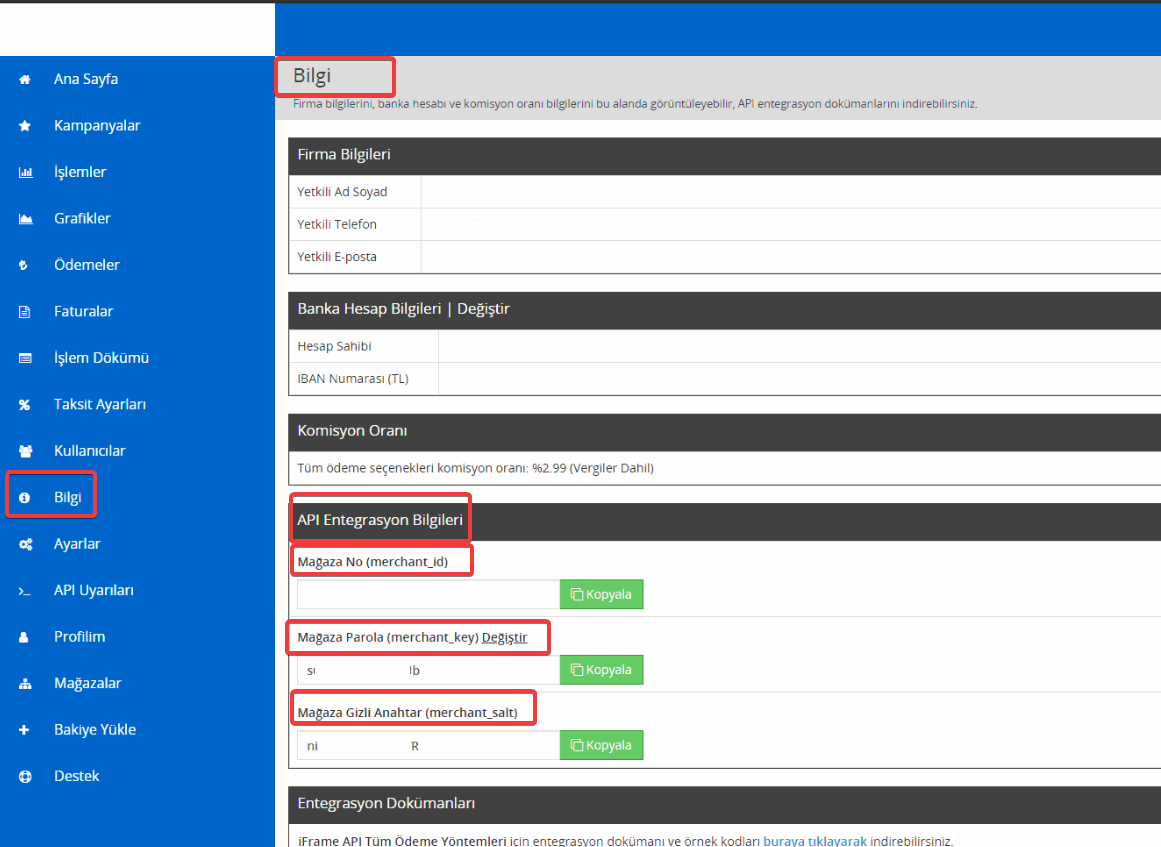
- After these steps, go to the "Information" menu in the left menu and find the API Integration Information heading.
- Obtain and copy the (Store Number, Store Password, and Store Secret Key) information.
- After obtaining all the required information and completing your configuration, you can proceed with the integration operations through the serB2B management panel.
tip
Our payment infrastructure uses the PayTR Direct API feature. Before proceeding with the PayTR setup, you need to log into the PayTR store panel and create a new request in the Support section under the Support & Setup tab, stating that you want to use the Direct API for your integration and having it activated.

2.2. Steps to Follow in the serB2B Panel
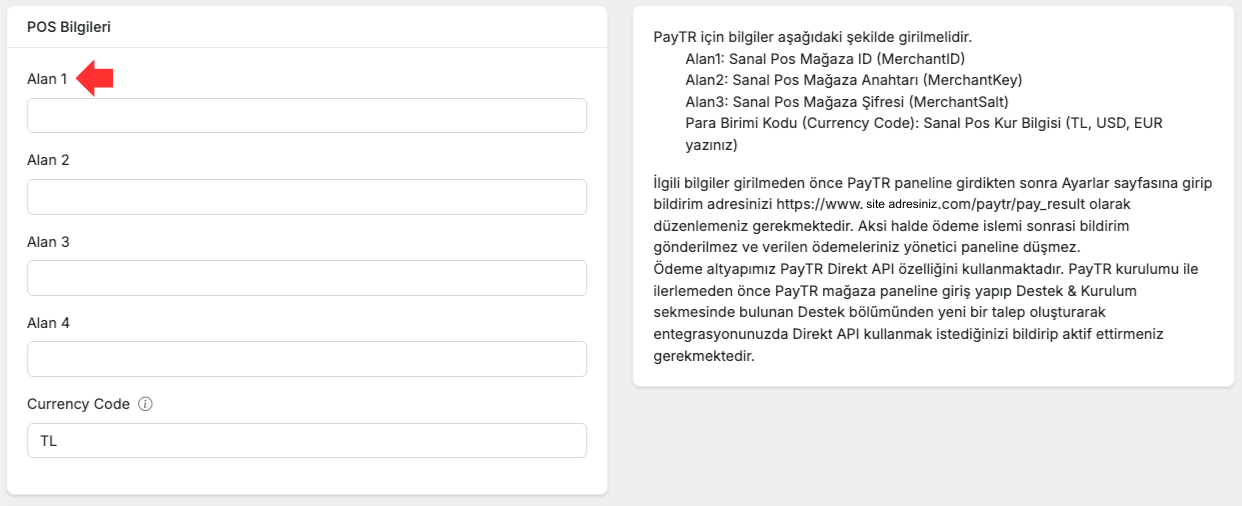
- Paste the Virtual POS Store ID (MerchantID) you obtained into the Field 1 area in the serB2B panel.
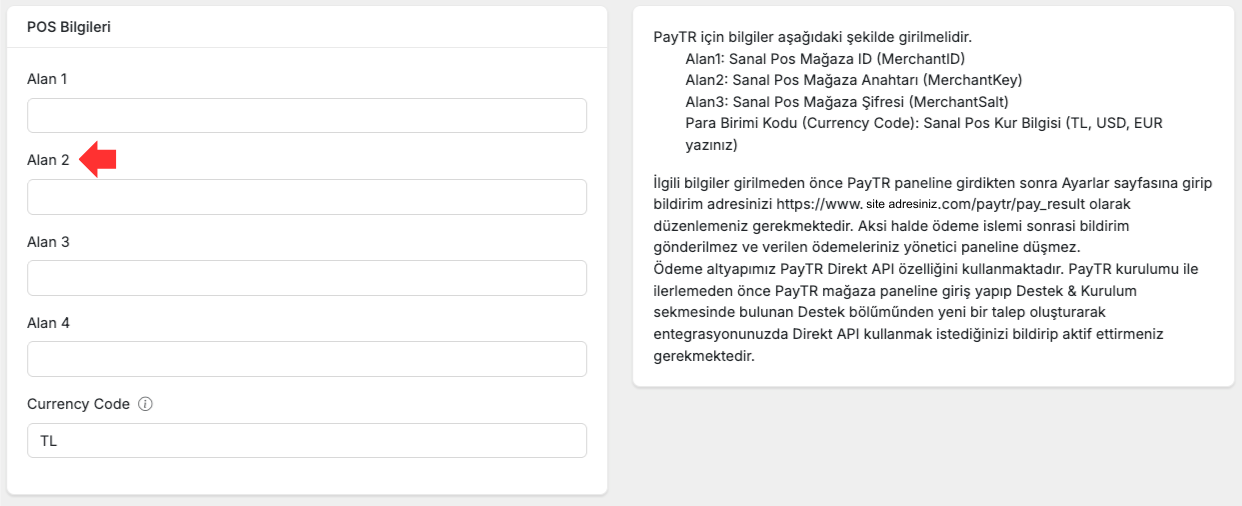
- Paste the Virtual POS Store Key (MerchantKey) you obtained into the Field 2 area in the serB2B panel.
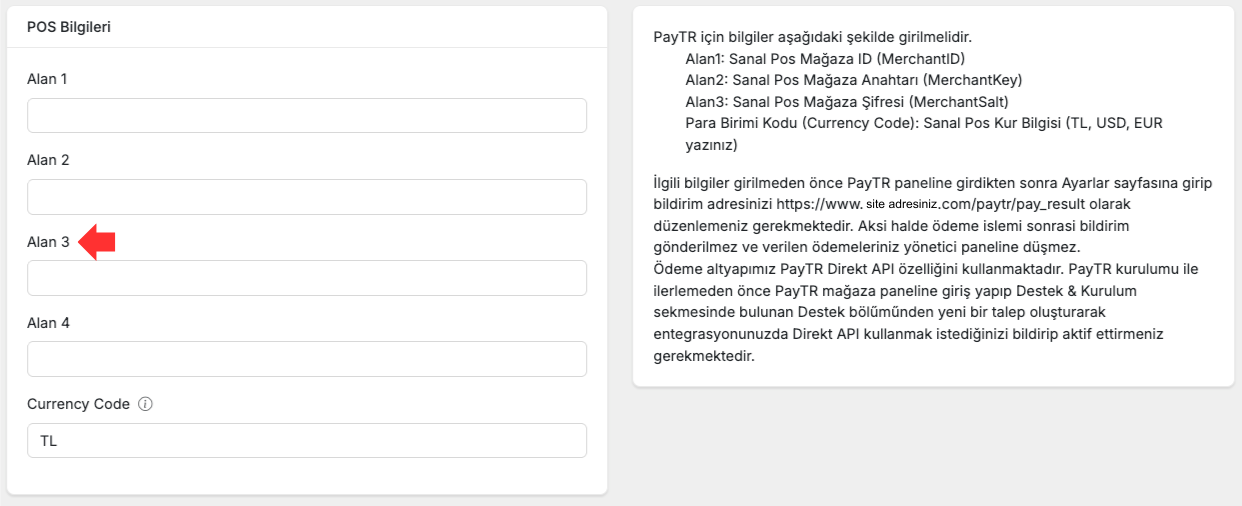
- Paste the Virtual POS Store Salt (MerchantSalt) you obtained into the Field 3 area in the serB2B panel.
2.3. Activating the Virtual POS
- Enter the defined currency code.
- Click the Save button to save your settings.
3. Virtual POS Configuration Table
- Select PayTR from the Bank POS field.
| Field | Description |
|---|---|
| Field 1 | Virtual POS Store ID (MerchantID) |
| Field 2 | Virtual POS Store Key (MerchantKey) |
| Field 3 | Virtual POS Store Salt (MerchantSalt) |
| Currency Code | The Virtual POS currency information must be entered as follows: |
- TL for TRY | |
- USD for USD | |
- EUR for EUR |