QNBPay Virtual POS
You can follow the steps below to complete the QNBPay Virtual POS integration.
1. Defining a POS in the serB2B Panel
First, in the serB2B e-commerce admin panel, click on Settings > Payment Settings > + to be directed to the new virtual POS setup screen.

2. Obtaining the Required Information
Next, you need to log in to the QNBPay Virtual POS Management System. Log in at https://portal.qnbpay.com.tr/merchant/login.
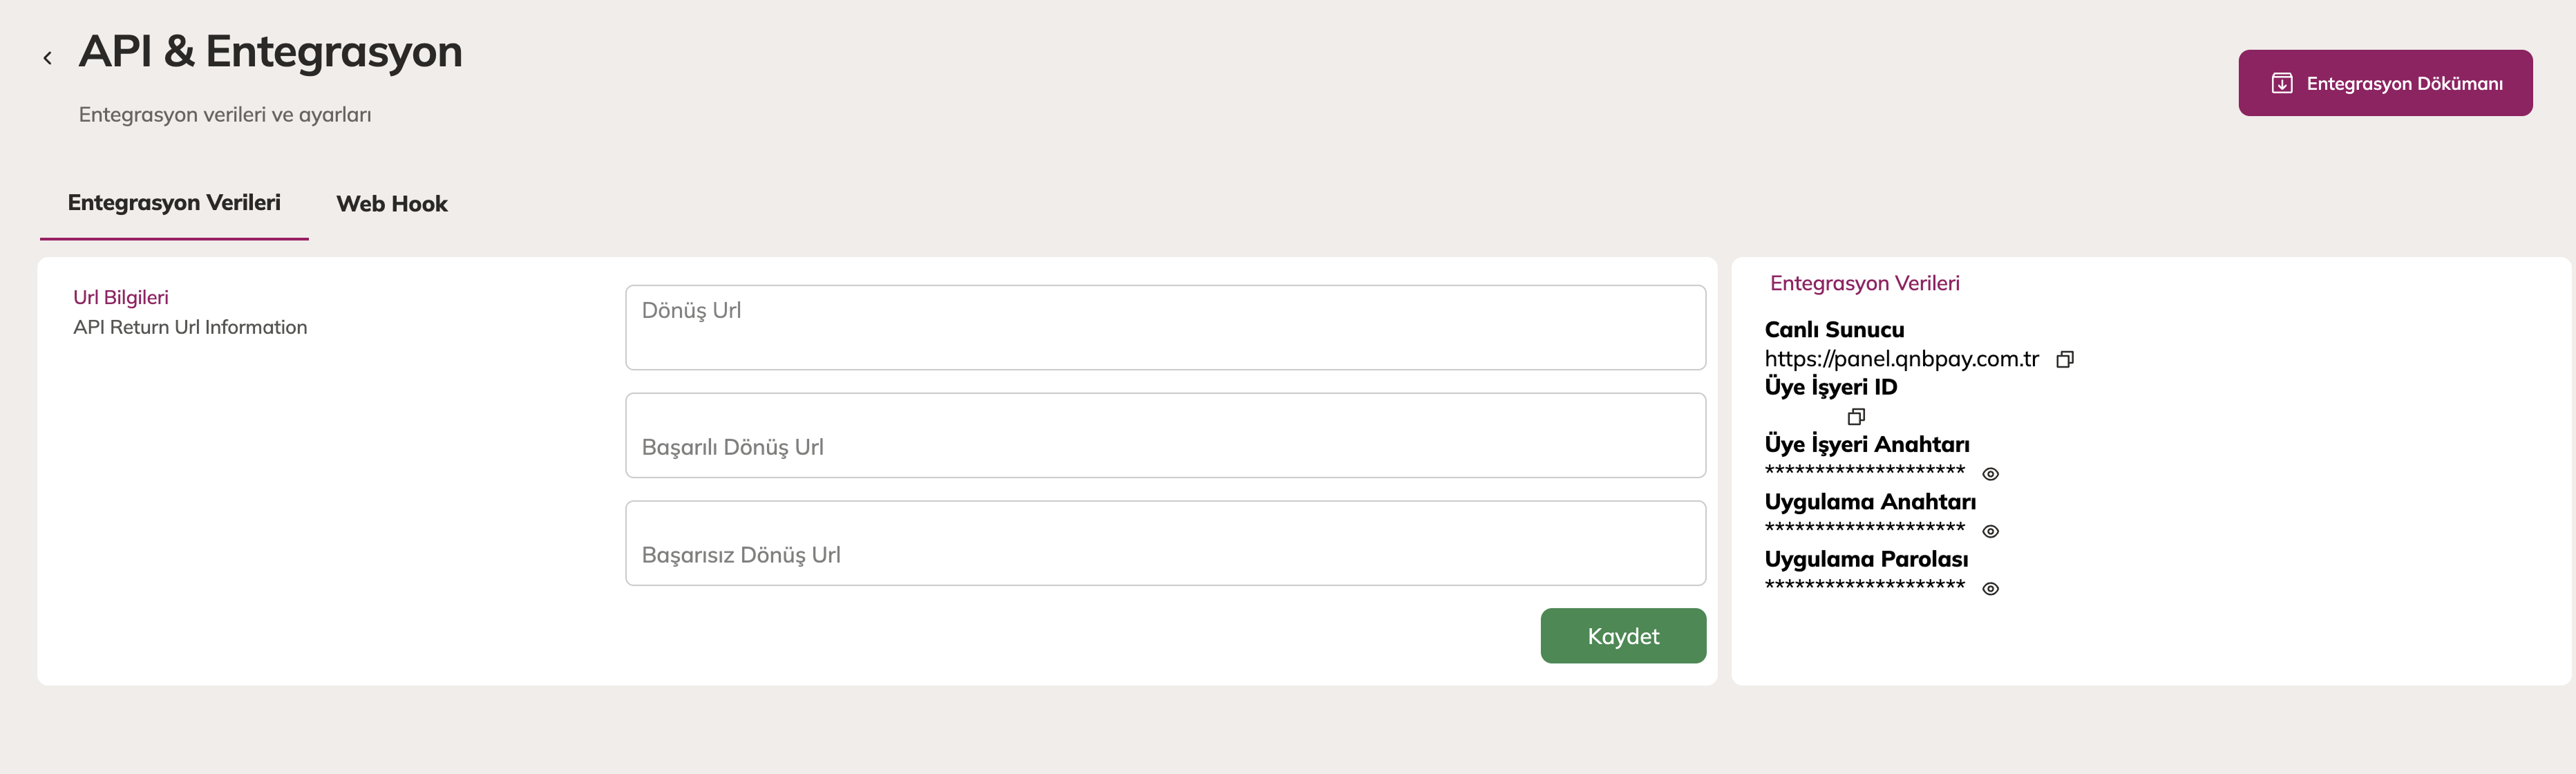
After logging in to the bank panel, you need to obtain the following for integration with your serB2B site:
- Merchant ID
- Merchant Key
- Application Key
- Application Password
2.1. Steps to Follow in the QNBPay Panel
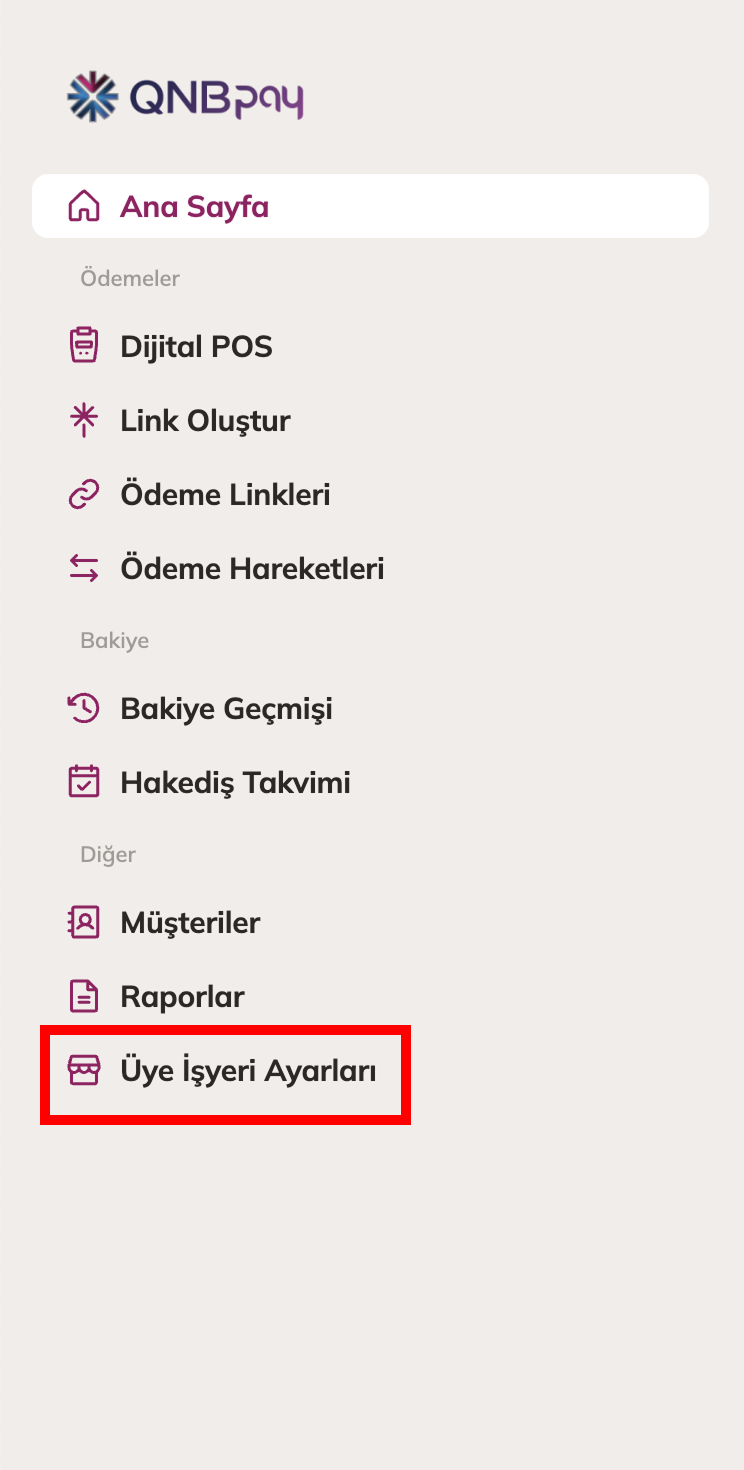
- In the QNBPay virtual POS panel, click on "Merchant Settings" from the left menu.
- Then click on the "API & Integration" tab that opens.
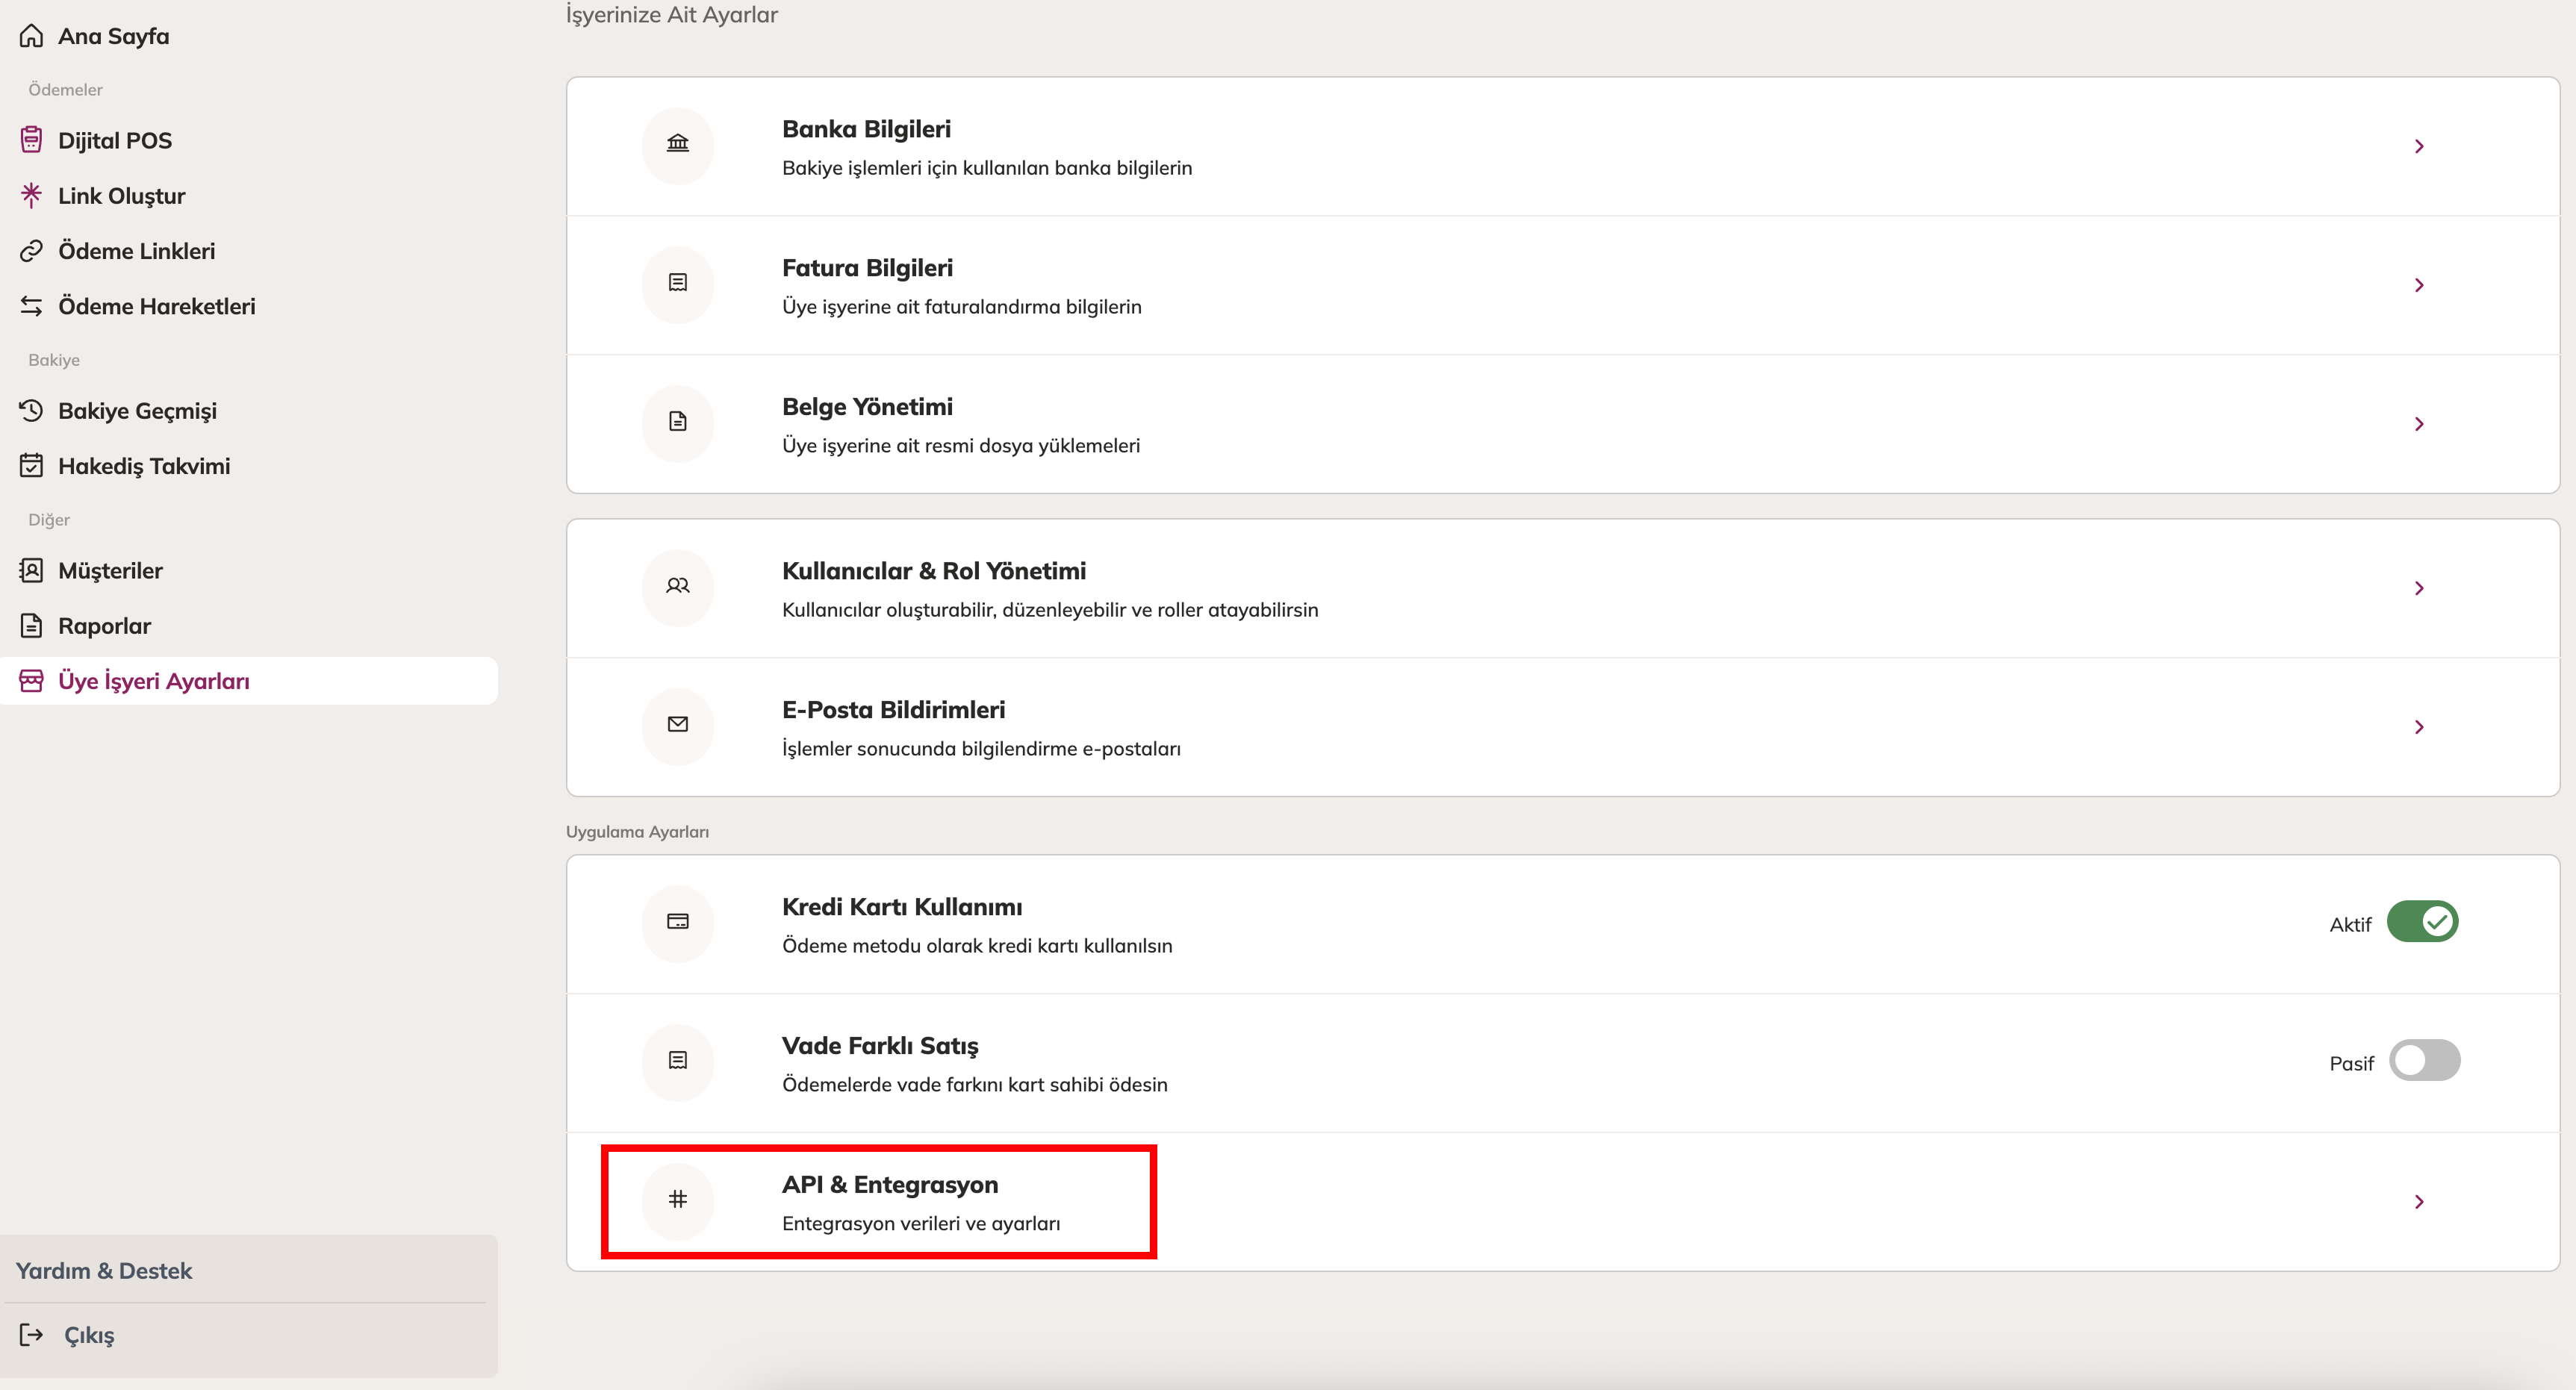
- On this page, copy the required integration information and return to the serB2B panel.
2.2. Steps to Follow in the serB2B Panel
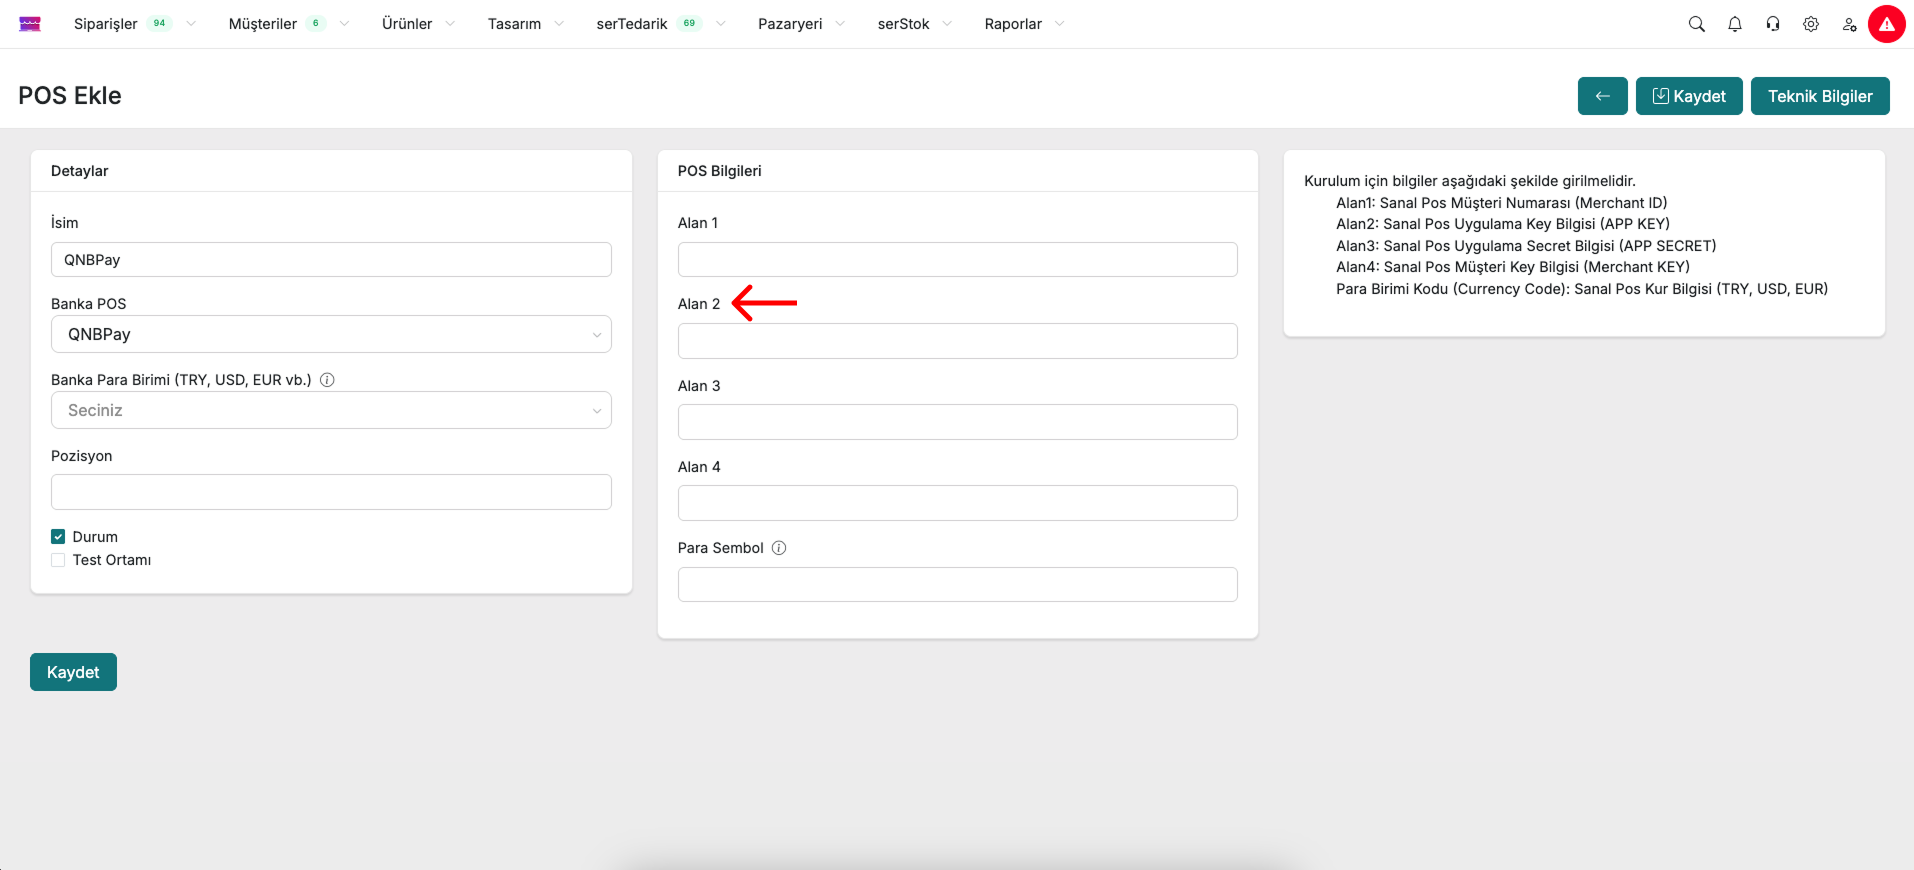
- Paste the Merchant ID information you obtained into the Field 1 area in the serB2B panel.

- Paste the Application Key into the Field 2 area in the serB2B panel.
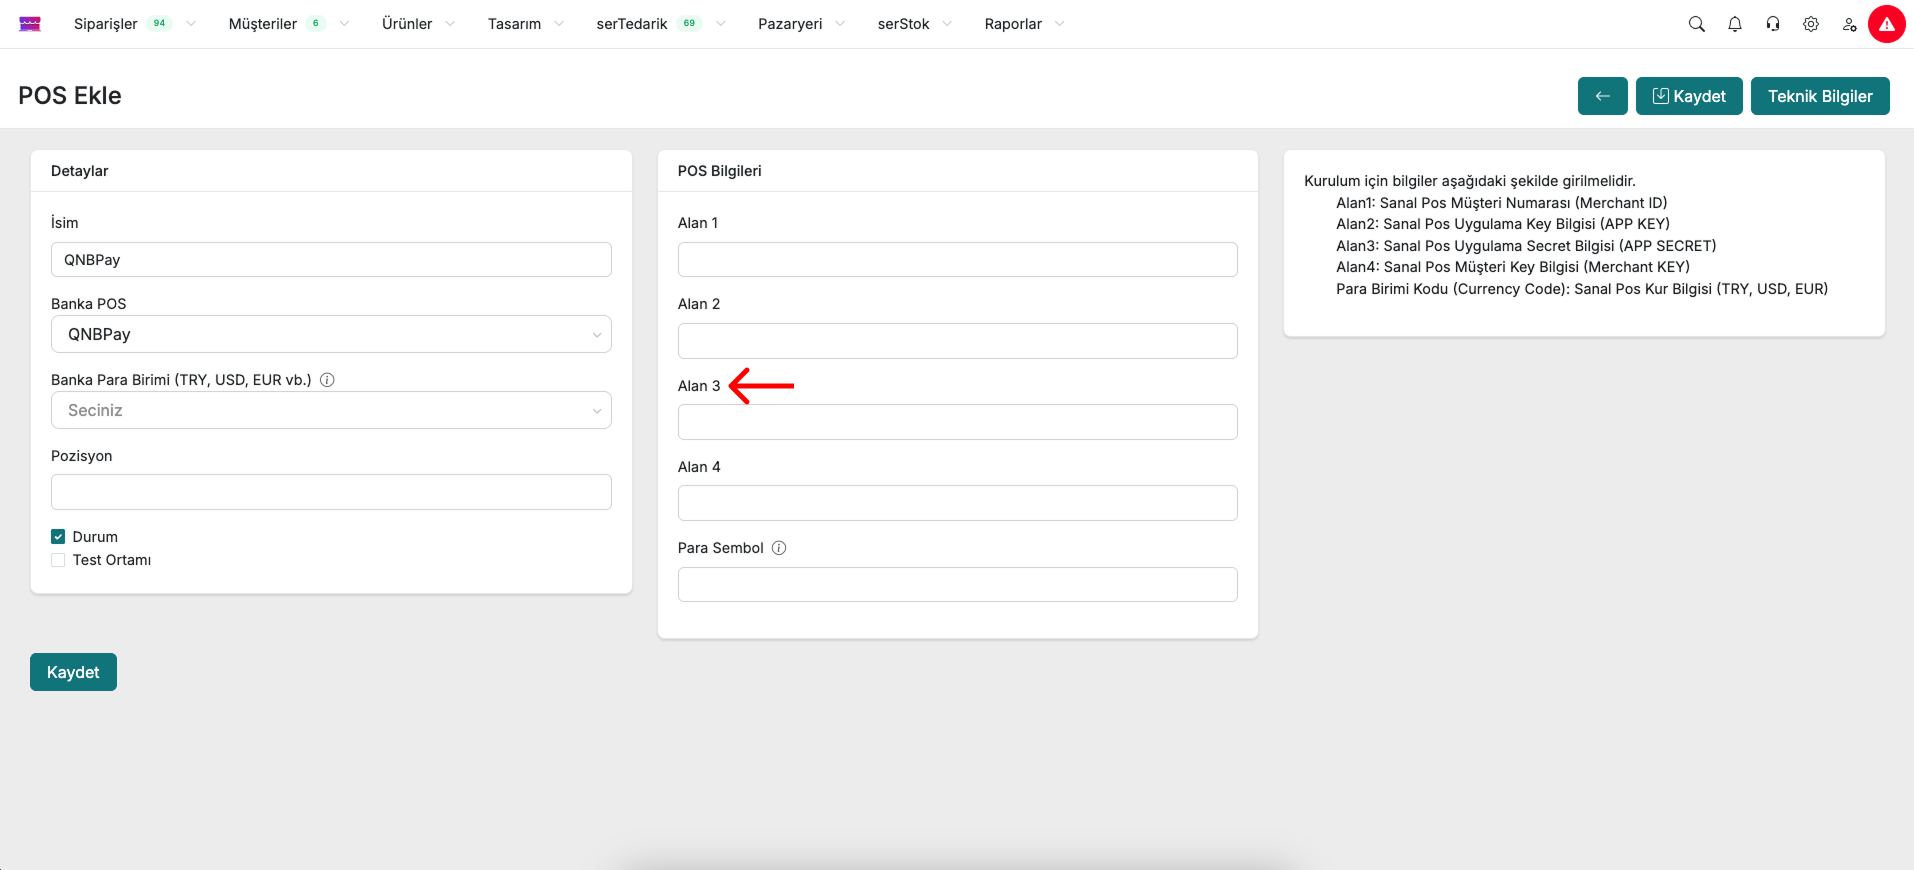
- Paste the Application Password into the Field 3 area in the serB2B panel.
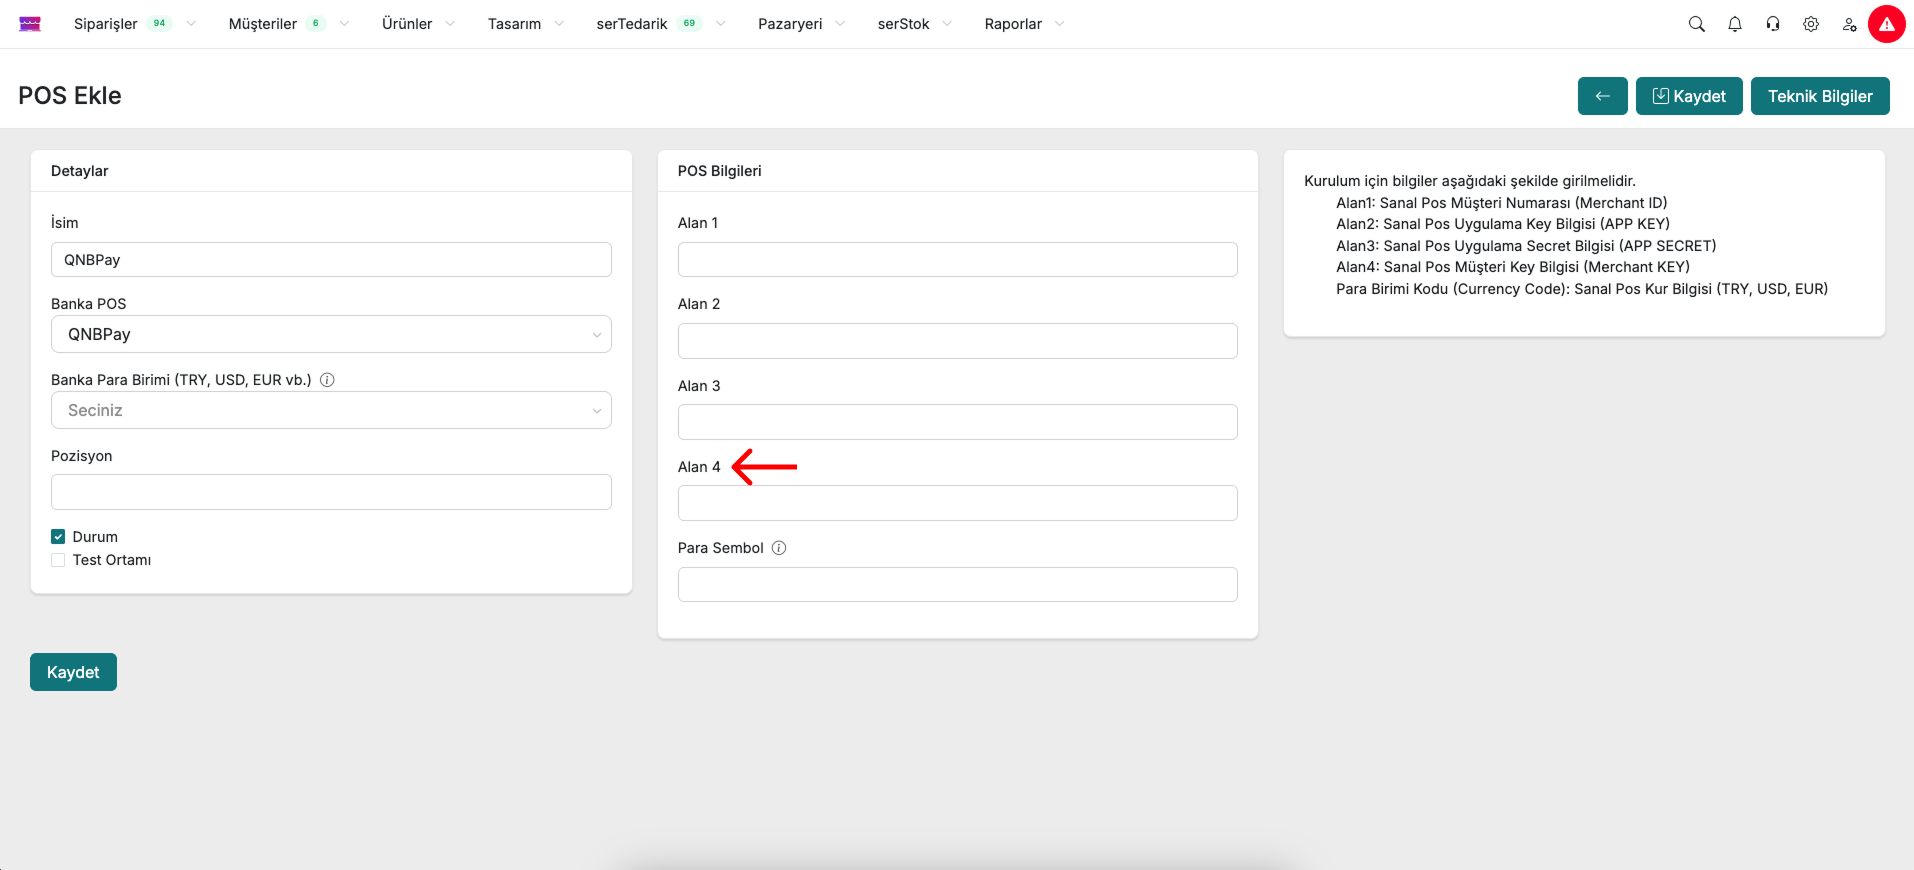
- Paste the Merchant Key into the Field 4 area in the serB2B panel.
2.3. Activating the Virtual POS
- Enter the defined currency code. For example, enter TRY for Turkish Lira.
- Click the Save button to save your settings.
3. Virtual POS Configuration Table
- Select QNBPay from the Bank POS field.
| Field | Description |
|---|---|
| Field 1 | Merchant ID |
| Field 2 | Merchant Key |
| Field 3 | Application Key |
| Field 4 | Application Password |
| Currency Code | The Virtual POS currency information must be entered as follows: |
- TRY for TRY | |
- USD for USD | |
- EUR for EUR |